BitLocker 암호화 제거하기: 종합 가이드

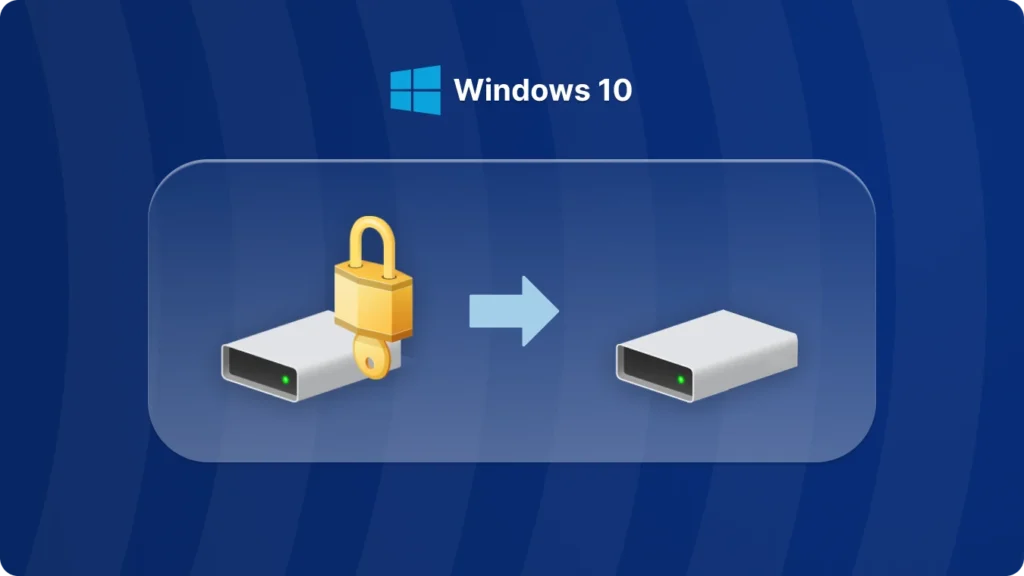
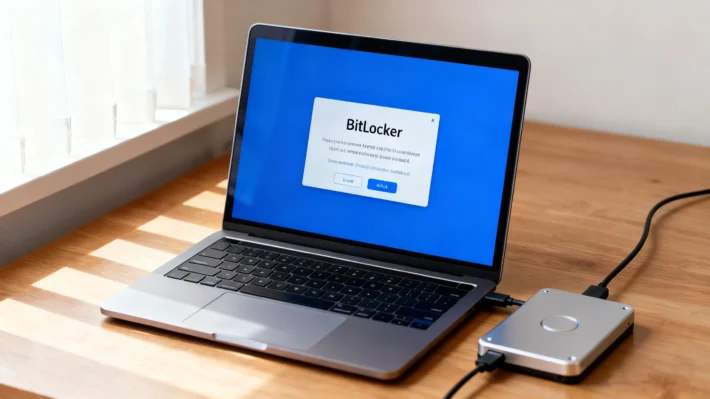
BitLocker 암호화는 데이터 보안을 위한 강력한 도구이지만, 때로는 암호화를 제거해야 할 때도 있습니다. 시스템을 업그레이드하거나 문제를 해결하거나 단순히 더 이상 암호화가 필요하지 않은 경우 이 가이드에서 다음과 같은 과정을 안내해 드립니다. BitLocker 암호화 제거 를 클릭합니다.
BitLocker 암호화를 제거하는 이유는 무엇인가요?
- 재사용 또는 용도 변경을 위해 드라이브 준비하기.
- 암호화로 인한 성능 문제 해결.
- 암호 해독 없이 파일 액세스 간소화
이유가 무엇이든 비트락커 제거 는 올바른 단계를 따르면 간단합니다.
Windows 10에서 BitLocker 암호화를 제거하는 방법
BitLocker를 제거하기 전에 고려해야 할 사항
이전 비트락커 제거 드라이브에서, 를 클릭하고 다음 사항에 유의하세요:
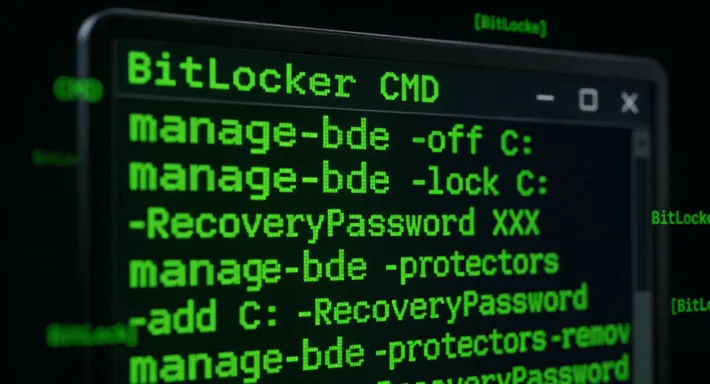
- 데이터 백업: 암호 해독 프로세스를 시작하기 전에 중요한 파일을 모두 백업했는지 확인하세요. 다음과 같은 여러 가지 방법으로 비트록커 키를 찾을 수 있습니다. 명령줄 사용, 를 사용하여 그룹 정책, 에서 찾을 수 있습니다. Microsoft 계정, 를 사용하여 타사 소프트웨어를 사용할 수 있습니다. 여기서 권장하는 가장 쉬운 방법은 Magic Recovery Key.
1. 계속하려면 평판이 좋은 출처에서 Magic Recovery Key를 다운로드하여 설치하세요.
Windows 7/8/10/11 및 Windows Server 지원
2. 그런 다음 소프트웨어를 열고 왼쪽 메뉴에서 BitLocker 복구 키를 선택합니다.
- 관리자 액세스: BitLocker를 끄려면 관리자 권한이 필요합니다.
- 드라이브 사용량: 드라이브가 사용 중인 경우 암호 해독 프로세스가 더 오래 걸리거나 시스템을 다시 시작해야 할 수 있습니다.
결론
BitLocker 암호화 제거하기 는 Windows 10 사용자에게 간단하지만 중요한 작업입니다. 다음과 같은 경우 드라이브에서 BitLocker 제거 를 사용하여 성능을 개선하거나 드라이브의 용도를 변경하려면 위의 단계를 따르면 원활한 프로세스를 보장할 수 있습니다.


