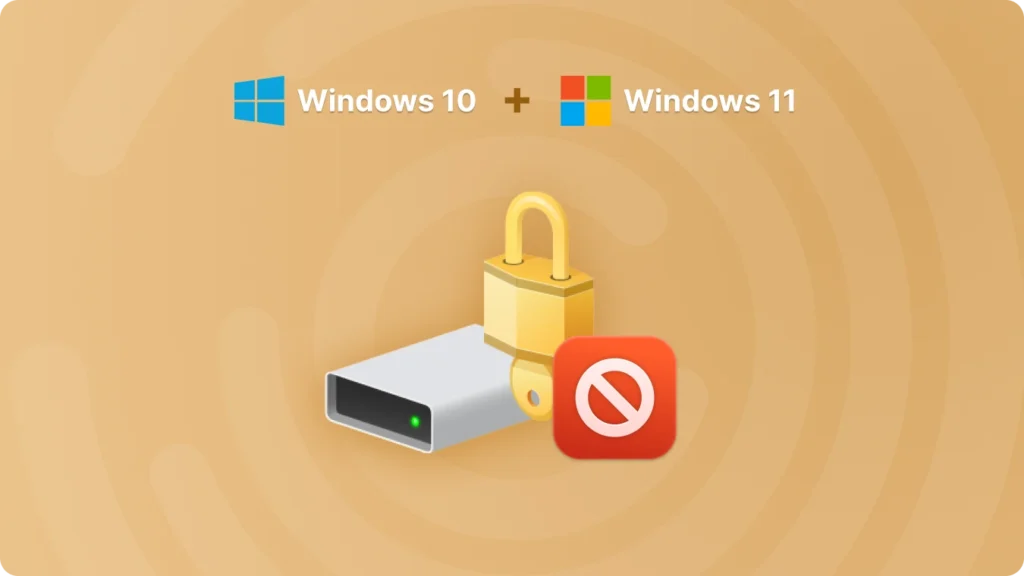
Como desativar o BitLocker no Windows 11 e no Windows 10 com segurança
Se você quiser desativar o BitLocker on Windows 11 or Windows 10, you need to turn off BitLocker protection and allow Windows to decrypt the drive. This is different from simply unlocking a drive or suspending BitLocker temporarily. Once BitLocker is fully disabled, the selected drive is no longer encrypted.
The fastest way is to open Manage BitLocker, select the encrypted drive, and click Turn off BitLocker. On Windows 11 Home, you may not see the full BitLocker Drive Encryption panel because standard BitLocker is mainly available on Windows Pro, Enterprise, and Education editions. In that case, you may need to turn off Device Encryption instead.
This guide explains how to disable BitLocker on Windows 11 and Windows 10, how to turn off Device Encryption on Windows 11 Home, how to disable BitLocker using CMD or PowerShell, how to check decryption progress, and what to do before turning BitLocker off to avoid losing access to your encrypted data.
Resposta rápida: To disable BitLocker, search for Manage BitLocker in Windows, open the Criptografia de unidade BitLocker panel, click Turn off BitLocker next to the encrypted drive, and confirm the action. If you use Windows 11 Home, go to Settings > Privacy & security > Device encryption and turn Device Encryption off.
Índice
Before You Disable BitLocker: Important Things to Know
Before you disable BitLocker, make sure you understand what will happen.
Quando você turn off BitLocker, Windows starts decrypting the selected drive. After decryption is complete, the drive is no longer protected by BitLocker. Anyone with physical access to the drive may be able to read its data more easily if they can access the computer or remove the drive.
Before you continue, check these points:
Back up important files before making encryption changes.
Save your BitLocker recovery key in a safe place.
Keep the computer plugged in during decryption.
Do not shut down the PC while BitLocker is decrypting the drive.
Make sure you are signed in with an administrator account.
Check whether you need to disable BitLocker permanently or only suspend it temporarily.
If you are disabling BitLocker because of a BIOS update, TPM change, hardware repair, or firmware update, suspending BitLocker may be safer than fully decrypting the drive.
Disable BitLocker vs Suspend BitLocker: What’s the Difference?
Many users search for “disable BitLocker” when they only need to stop BitLocker temporarily. These two options are different.
| Opção | O que ele faz | Melhor para |
|---|---|---|
| Suspend BitLocker | Temporarily pauses BitLocker protection without decrypting the drive | BIOS updates, TPM changes, firmware updates, hardware maintenance |
| Disable BitLocker / Turn off BitLocker | Fully decrypts the drive and removes BitLocker protection | Selling a PC, changing encryption strategy, removing BitLocker permanently |
If you only need to update BIOS, change TPM settings, or troubleshoot a temporary boot issue, use Suspend protection instead of turning BitLocker off completely.
If you no longer want the drive encrypted, choose Turn off BitLocker and wait for the decryption process to finish.
Como desativar o BitLocker no Windows 11
You can disable BitLocker on Windows 11 from the Manage BitLocker panel.
- Sign in to Windows with an administrator account.
- Clique em Iniciar.
- Type Manage BitLocker.
- Open Manage BitLocker from the search results.
- Find the drive you want to decrypt.
- Click Turn off BitLocker.
- Confirm by clicking Turn off BitLocker again.
- Wait while Windows decrypts the drive.
The decryption process may take some time depending on your drive size, data amount, and system performance. You can usually continue using the computer, but you should keep it powered on until decryption is complete.
If you do not see Manage BitLocker on Windows 11, you may be using Windows 11 Home or Device Encryption instead of standard BitLocker. In that case, use the Device Encryption method below.
Como desativar o BitLocker no Windows 10
On Windows 10, the standard way to disable BitLocker is also through the Manage BitLocker panel.
- Sign in with an administrator account.
- Abra o menu “Iniciar”.
- Search for Manage BitLocker.
- Open the BitLocker Drive Encryption panel.
- Locate the encrypted drive.
- Click Turn off BitLocker.
- Confirme a ação.
- Wait for Windows to decrypt the drive.
You can also access this page from Control Panel:
- Abra o Painel de Controle.
- Go to System and Security.
- Clique em BitLocker Drive Encryption.
- Selecione a unidade.
- Click Turn off BitLocker.
When the process is complete, the drive status should show that BitLocker is off.
How to Turn Off Device Encryption on Windows 11 Home
Some Windows 11 Home devices do not show the full BitLocker management panel. Instead, they use Device Encryption. This is common on modern laptops that automatically encrypt the system drive after setup.
To turn off Device Encryption on Windows 11 Home:
- Abrir Configurações.
- Go to Privacy & security.
- Click Device encryption.
- Turn Device Encryption off.
- Confirme a ação.
- Wait for Windows to decrypt the drive.
If you do not see the Device Encryption option, your device may not support it, it may already be off, or your edition/configuration may not expose the setting in that location.
How to Disable BitLocker Using CMD
You can also disable BitLocker from Command Prompt with the manage-bde command.
- Abra o menu “Iniciar”.
- Type cmd.
- Right-click Command Prompt.
- Select Run as administrator.
- Check BitLocker status with this command:
manage-bde -status
- To disable BitLocker on the C: drive, run:
manage-bde -off C:
- Wait for decryption to complete.
If you want to turn off BitLocker on another drive, replace C: with the correct drive letter. For example:
manage-bde -off D:
To check progress, run:
manage-bde -status
Look for Conversion Status. If it shows Decryption in Progress, BitLocker is still turning off. If it shows Fully Decrypted, BitLocker has been disabled for that drive.
How to Disable BitLocker Using PowerShell
PowerShell is another way to disable BitLocker.
- Clique com o botão direito do mouse em “Iniciar”.
- Select Windows Terminal (Admin) or PowerShell (Admin).
- Run this command to disable BitLocker on the C: drive:
Disable-BitLocker -MountPoint “C:”
- To check status, run:
Get-BitLockerVolume
If you need to disable BitLocker on another drive, replace C: with the correct drive letter.
Exemplo:
Disable-BitLocker -MountPoint “D:”
PowerShell is useful when the normal Manage BitLocker interface is missing, not opening, or difficult to use.
How to Check BitLocker Decryption Progress
After you disable BitLocker, Windows may need time to decrypt the drive. A large drive can take a long time, especially if it contains a lot of data.
You can check the progress in three ways.
Method 1: Use Manage BitLocker
Open Manage BitLocker and check the drive status. If decryption is still running, Windows will show that BitLocker is decrypting the drive.
Method 2: Use CMD
Abra o Prompt de Comando como administrador e execute-o:
manage-bde -status
Check the Conversion Status field.
Method 3: Use PowerShell
Open PowerShell as administrator and run:
Get-BitLockerVolume
Check VolumeStatus and ProtectionStatus.
Do not force shut down the computer while decryption is running. If you are using a laptop, keep it connected to power.
What to Do If You Cannot Turn Off BitLocker
If you cannot disable BitLocker, try the following fixes.
First, make sure you are using an administrator account. Standard users may not have permission to turn off drive encryption.
Second, check whether the drive is locked. If the drive is locked, unlock it first with the password or recovery key, then try turning BitLocker off again.
Third, confirm whether you are using standard BitLocker or Device Encryption. Windows 11 Home users may need to turn off Device Encryption instead of using Manage BitLocker.
Fourth, use CMD or PowerShell if the Settings or Control Panel option is missing.
Fifth, check whether your computer is managed by a work or school organization. If BitLocker is controlled by company policy, you may not be allowed to disable it manually. Contact your IT administrator before changing encryption settings.
Find Your BitLocker Recovery Key Before Disabling BitLocker
Before you disable BitLocker, you should make sure your recovery key is saved. This is especially important if you are turning off BitLocker because of a TPM change, BIOS update, hardware repair, Windows update problem, or repeated BitLocker recovery screen.
You can check these common recovery key locations:
Sua conta da Microsoft.
Sua conta do trabalho ou da escola.
Uma cópia impressa.
Um pen drive.
Um arquivo de texto ou uma captura de tela salva em outro disco.
O administrador de TI da sua organização.
Se você não conseguir localizar a chave manualmente, Magic Recovery Key pode ajudar a examinar unidades acessíveis em busca de registros de chaves de recuperação do BitLocker salvos, arquivos de chaves exportados, capturas de tela, documentos ou outros vestígios locais que possam conter informações de recuperação.
Important: Magic Recovery Key cannot bypass BitLocker encryption, break a BitLocker password, or generate a missing recovery key. It can only help search for recovery key information that was previously saved or stored somewhere accessible.
This makes it useful before disabling BitLocker, changing TPM settings, reinstalling Windows, replacing hardware, or troubleshooting a BitLocker recovery screen.

👉 Se você está procurando uma solução mais eficiente e confiável, Magic Recovery Key vale a pena tentar.
Compatível com Windows 7/8/10/11 e Windows Server
Should You Disable BitLocker?
You may want to disable BitLocker if you are selling or donating your computer, changing drive encryption software, troubleshooting repeated BitLocker recovery prompts, or preparing a drive for a system migration.
However, you should not disable BitLocker only because it seems unfamiliar. BitLocker helps protect your data if your laptop is lost, stolen, or removed from the device. If your main concern is a temporary BIOS update or hardware change, suspending BitLocker may be a better option than fully turning it off.
Disable BitLocker only when you understand the security tradeoff and have backed up your important files and recovery key.
Conclusão
To disable BitLocker on Windows 11 or Windows 10, open Manage BitLocker, select the encrypted drive, click Turn off BitLocker, and wait for Windows to decrypt the drive. If you use Windows 11 Home, you may need to turn off Device Encryption from Settings > Privacy & security > Device encryption instead.
If the normal option is missing, you can disable BitLocker with CMD by running manage-bde -off C: or with PowerShell by running Disable-BitLocker -MountPoint “C:”. After that, check the decryption progress with manage-bde -status or Get-BitLockerVolume.
Before turning BitLocker off, always save your Recuperação do BitLocker key and back up important files. If you only need to perform a BIOS update, TPM change, firmware update, or temporary hardware maintenance, suspending BitLocker may be safer than fully disabling it.
If you cannot find your BitLocker recovery key manually, Magic Recovery Key can help scan accessible drives for saved BitLocker recovery key records, exported key files, screenshots, documents, or other local traces that may contain recovery information. It cannot bypass BitLocker encryption, break a BitLocker password, or generate a missing recovery key, but it can help you search for recovery key information that was previously saved or stored somewhere accessible.
FAQs About Disabling BitLocker
How do I disable BitLocker on Windows 11?
How do I disable BitLocker on Windows 10?
How do I disable BitLocker using CMD?
How do I disable BitLocker with PowerShell?
Is disabling BitLocker the same as suspending BitLocker?
A desativação do BitLocker excluirá meus arquivos?
Why can’t I find BitLocker on Windows 11 Home?
Quanto tempo leva para desativar o BitLocker?
Should I disable BitLocker before a BIOS update?
What should I do before disabling BitLocker?
Erin Smith é reconhecida como uma das redatoras mais profissionais do Amagicsoft. Ela aprimorou continuamente suas habilidades de redação nos últimos 10 anos e ajudou milhões de leitores a resolver seus problemas de tecnologia.