How to Disable BitLocker in Windows 11 Home Edition
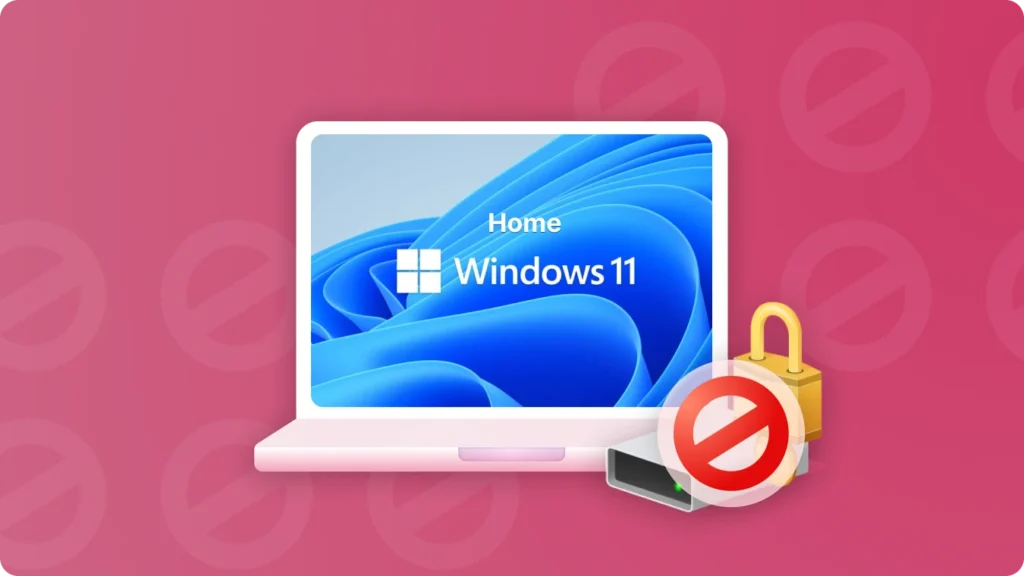
Windows 11 Home Edition users frequently encounter challenges when attempting to disable BitLocker for drive decryption. This comprehensive guide will walk you through the process of disabling BitLocker on your Windows 11 Home edition device. Magic Recovery Key is able to find your windows 11 home bitlocker key, then you can use it to unlock or disable bitlocker. You can download it to use.
Supports Windows 7/8/10/11 and Windows Server
Understanding Windows 11 Home BitLocker
BitLocker, a robust full-volume encryption feature offered by Microsoft, provides robust data security for partitions and the Windows C: drive in Windows Pro and Enterprise operating systems. Leveraging industrial-grade encryption algorithms such as AES-CBC 128/256 and XTS-AES 128/256, BitLocker ensures your data is effectively safeguarded across various drives, including internal disks, USB drives, and SD cards. As a built-in Windows tool, it offers greater stability and reliability compared to third-party disk encryption software. However, Windows 11 Home Edition users experience a notable limitation.
In Windows 11 Home, only a subset of BitLocker’s functionalities is accessible. Users can access BitLocker-encrypted drives but are restricted from operations like encrypting drives, decrypting BitLocker-encrypted drives, or changing BitLocker encrypted drive passwords. This restriction gives rise to the “windows 11 home bitlocker missing” functionality issue. Since the native BitLocker feature cannot be utilized for drive encryption in Windows 11 Home, users must seek third-party solutions.
Disabling BitLocker in Windows 11 Home Using Magic Recovery Key
To disable BitLocker, you must first decrypt the encrypted BitLocker disk. However, accessing a BitLocker-encrypted disk requires the BitLocker password, making obtaining the password the crucial step in disabling BitLocker.
Magic Recovery Key is a powerful tool designed to locate your BitLocker recovery key, enabling you to unlock your device using this key. Download and install Magic Recovery Key from a reputable source to proceed.
Supports Windows 7/8/10/11 and Windows Server
Then open the software and select BitLocker Recovery Key in the left menu.
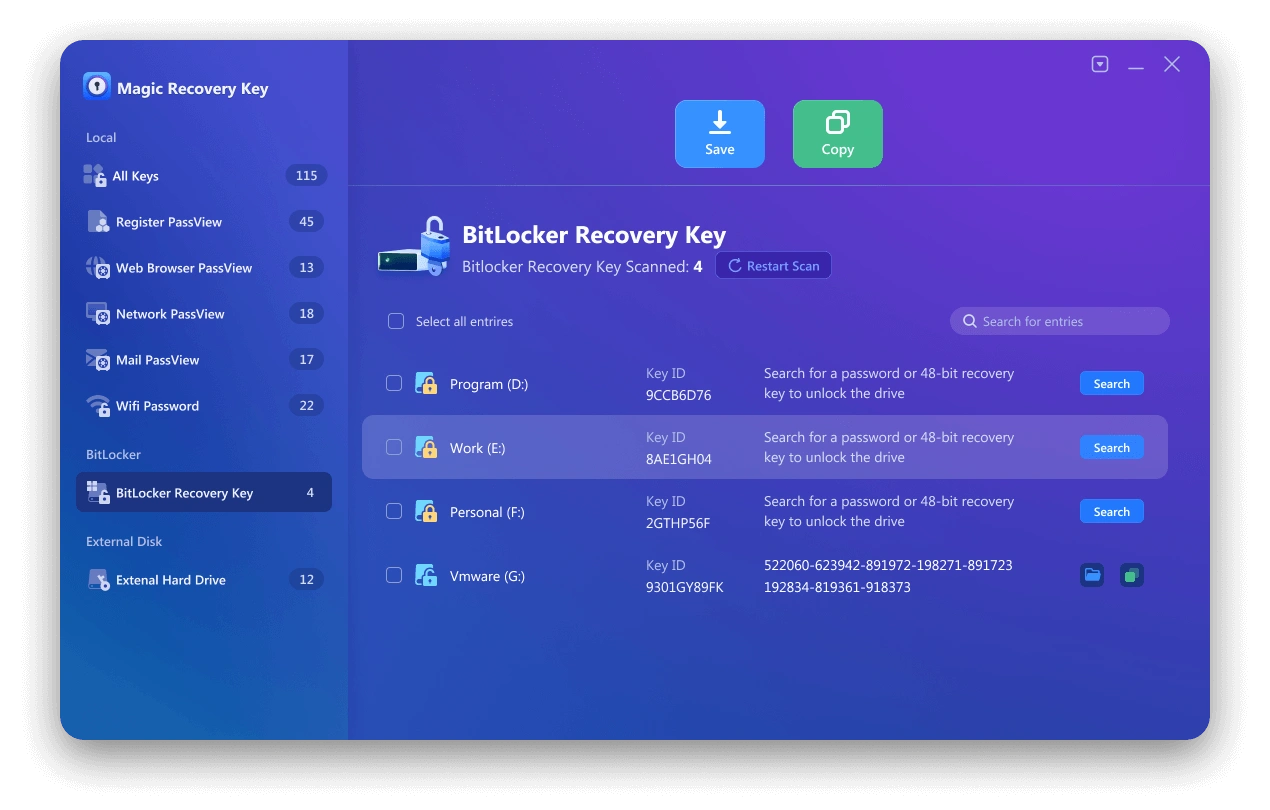
Once installed, open the software and navigate to BitLocker Recovery Key in the left menu. Click “Search” to prompt the software to scan for the BitLocker key. Upon finding the key, copy it and proceed to unlock your encrypted drive.
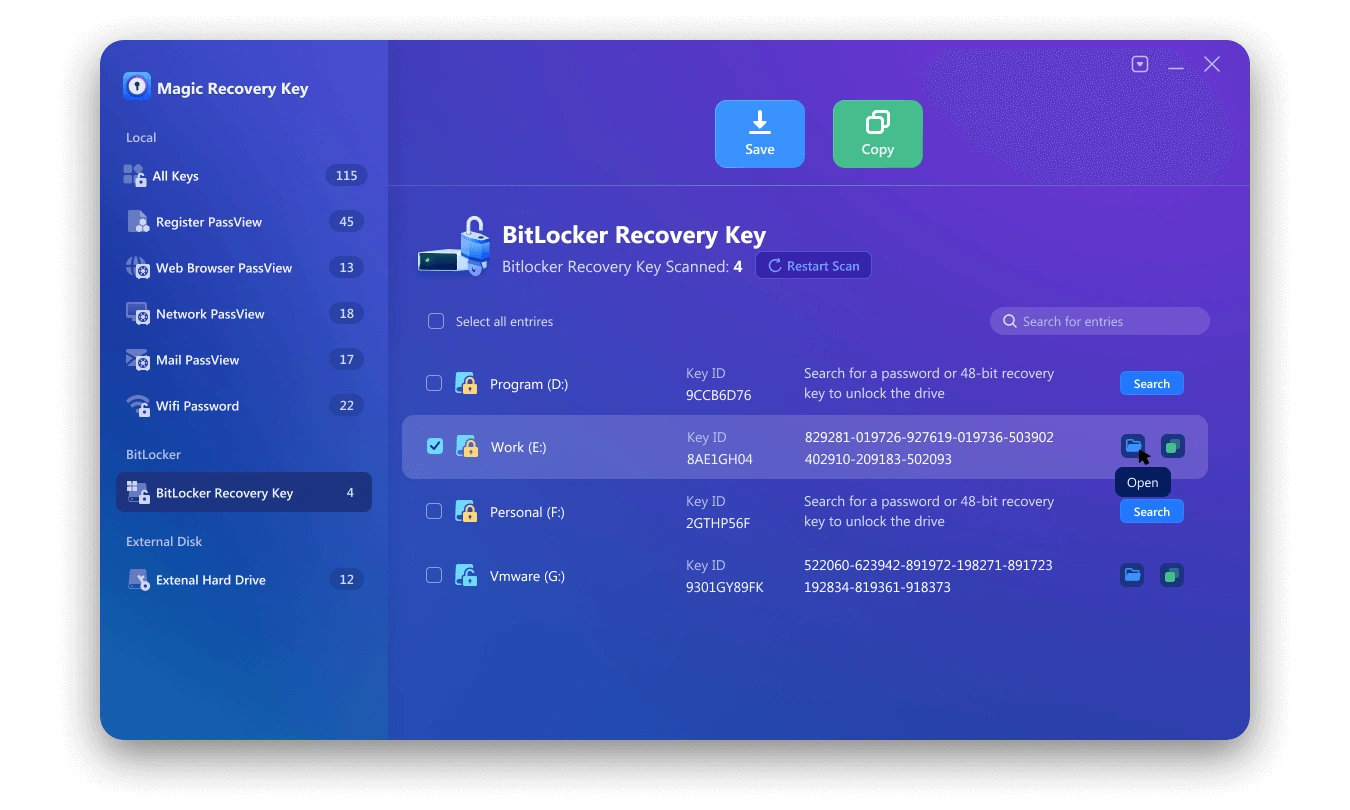
Using the Recovered BitLocker Password to Unlock Your Drive
After successfully recovering your BitLocker password using Magic Recovery Key, you can use this password to unlock your encrypted drive. Here’s how:
Access the Encrypted Drive: Open File Explorer and locate the encrypted drive. It may appear with a lock icon indicating it is BitLocker-protected.
Enter the BitLocker Password: Right-click on the encrypted drive and select “Unlock Drive.” A prompt will appear asking for the BitLocker password.
Paste or Type the Password: Enter or paste the BitLocker password you recovered using Magic Recovery Key into the prompt.
Click Unlock: After entering the correct password, click “Unlock.” The drive should now be accessible, and you can use it as usual.
By following these steps, you can effectively disable BitLocker on your Windows 11 Home edition device, regaining full access to your encrypted drives without the need for complex workarounds or upgrading to a more expensive Windows edition.
Conclusion
Disabling BitLocker in Windows 11 Home can be a bit tricky since this edition does not include the full BitLocker management interface found in Pro or Enterprise versions. However, with the right steps—using Command Prompt, Control Panel alternatives, or third-party BitLocker management tools—you can successfully turn off device encryption and regain full control of your drives.
Always remember to back up your recovery key and important files before making any encryption changes. By following the methods above, you can manage your data protection more easily and ensure smooth performance on your Windows 11 Home device.
Magic Recovery Key can not only retrieve BitLocker recovery keys from Windows 11 Home computers but also extract them from Windows 11 Pro systems. Additionally, it supports extracting software license keys as well.
Supports Windows 7/8/10/11 and Windows Server
FAQs About Windows 11 Home BitLocker
1. Can I use BitLocker on Windows 11 Home Edition?
2. How do I disable BitLocker in Windows 11 Home if I don’t have the BitLocker settings panel?
3. What happens when I disable BitLocker on Windows 11 Home?
4. Do I need a recovery key for Windows 11 Home BitLocker?
5. What’s the best way to manage BitLocker in Windows 11 Home?
Erin Smith is recognized as one of the most professional writers at Amagicsoft. She has continually honed her writing skills over the past 10 years and helped millions of readers solve their tech problems.

