The Ultimate Guide to CHKDSK /R: Fix Hard Drive Errors
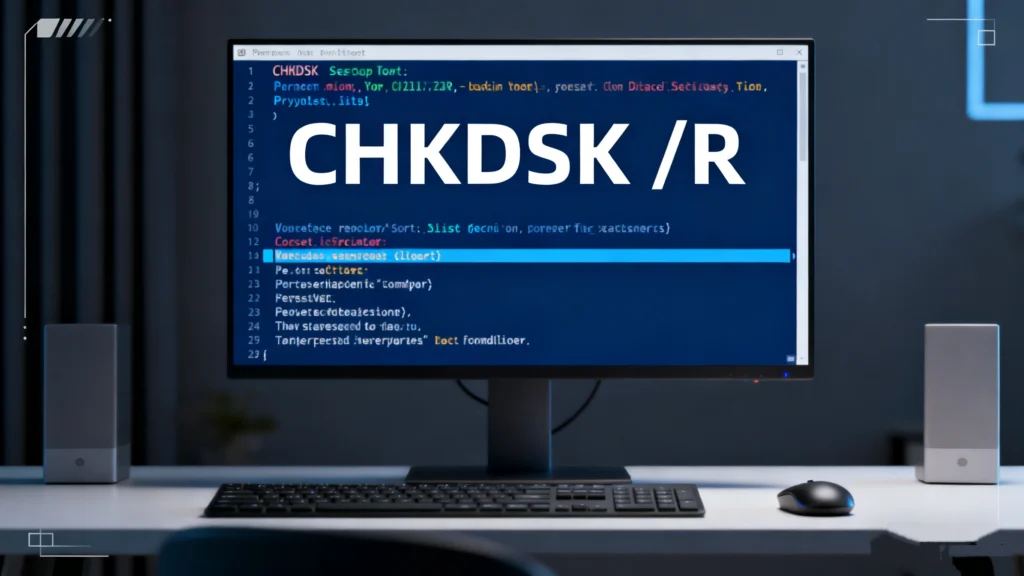
Table of Contents
What is the CHKDSK /R Command?
Let’s break down this essential Windows tool. CHKDSK, short for “Check Disk,” is a command-line utility built into Windows NT-based operating systems (like Windows 10, 11, and Server editions). Its primary role is to verify the integrity of a disk’s file system and metadata.
When you add the /r parameter, you instruct CHKDSK to perform its most comprehensive repair operation. The command chkdsk /r does two critical things:
- Locates Bad Sectors: It performs a full disk surface scan to find physical bad sectors on the hard drive.
- Recovers Readable Information: It attempts to recover any readable data stored in those identified bad sectors and moves it to healthy parts of the disk.
Think of your hard drive as a vast library. CHKDSK /R is the librarian who not only checks if all the books (files) are correctly catalogued (file system errors) but also inspects every shelf (disk sector) for physical damage. If a shelf is broken, the librarian salvages any legible pages from books on that shelf and places them on a new, stable shelf.
Key Differences: CHKDSK /F vs. CHKDSK /R
Users often confuse the /f and /r switches. Understanding this is key to using the tool correctly.
chkdsk /f: This parameter fixes logical errors in the file system, such as corrupted file pointers or directory errors. It’s faster and is the first step for common file system issues.chkdsk /r: This includes all the fixes of/fand adds the intensive physical disk scan for bad sectors. Because of this low-level scan, running chkdsk /r takes significantly longer—often many hours for large drives.
Pro Tip: Since /r incorporates the functions of /f, you typically only need to run chkdsk /r when you suspect physical disk problems.
When Should You Run the CHKDSK /R Command?
Using this powerful command unnecessarily can waste hours. Run it when you notice these specific warning signs:
- Frequent System Crashes or Blue Screens: Errors like
UNEXPECTED_STORE_EXCEPTIONorKERNEL_DATA_INPAGE_ERRORoften relate to disk issues. - Unusual Noises from the Hard Drive: Repetitive clicking or grinding sounds can indicate physical read/write head issues.
- Files and Folders Become Corrupted: You get sudden “file is corrupted” errors when opening previously fine documents.
- Significant Performance Drops: The system is extremely sluggish, especially when accessing files.
- Windows Suggests It: After an improper shutdown, Windows might prompt you to check the disk for errors on the next startup.
A Common Scenario: Your external hard drive starts disconnecting randomly. After reconnecting, some folders appear empty. Before assuming data loss, running chkdsk /r on that drive letter could recover files trapped in unstable sectors.
How to Use the CHKDSK /R Command
Crucial Warning: Before running chkdsk /r, back up any critical data if possible. The process is generally safe but is a major disk operation.
Method 1: Via Command Prompt (For Non-System Drives)
This is the best method for checking an external USB drive, secondary internal drive, or a non-OS partition.
- Open Command Prompt as Administrator. Search for “cmd,” right-click “Command Prompt,” and select “Run as administrator.”
- Enter the Command. Type the following and press Enter:
chkdsk x: /r
(Replace “X:” with the actual letter of the drive you want to check, e.g., chkdsk D: /r).
- Schedule the Scan. If the drive is in use, you’ll be prompted to schedule the scan for the next system restart. Type
Yand press Enter, then restart your computer.
Method 2: For Your Main Windows (C:) Drive
Since the system drive is always in use, CHKDSK will always schedule itself for the next boot.
- Open an Admin Command Prompt as shown above.
- Type:
chkdsk C: /r
- Press Enter. Type
Yto confirm the scheduled check. - Restart your computer. The scan will run before Windows loads, displaying a blue screen with a progress percentage. Be patient; this can take several hours.
Method 3: Using the Graphical Drive Tools
For users uncomfortable with the command line:
- Open “This PC.”
- Right-click the drive (e.g., C:) and select Properties.
- Go to the Tools tab.
- Under “Error checking,” click Check. For a deep scan equivalent to
/r, Windows may need to schedule it for the next restart.
Understanding the Risks: Can CHKDSK /R Cause Data Loss?
This is a critical question. The chkdsk r command’s primary goal is to prevent data loss by fixing errors. However, in complex failure scenarios, risks exist:
- Pre-existing Severe Damage: If the drive is already failing physically (with numerous bad sectors), the intensive read operations of the
/rscan can push it over the edge. - File System Corruption: In rare cases, if the file system metadata is severely corrupted, CHKDSK’s repair logic might make corrective decisions that render files inaccessible or cause a partition to disappear from the system’s view.
- Power Interruption: If the power fails or the system is shut down during the multi-hour CHKDSK /R scan, the file system can be left in a far worse, inconsistent state.
The Bottom Line: CHKDSK /R is not a data recovery tool. It is a disk repair utility. Its algorithm prioritizes a structurally sound file system over preserving every piece of user data in complex corruption cases. This is why having a backup is non-negotiable before running it.
Recovering Data After a Failed CHKDSK Operation
If you’ve run the chkdsk /r command and now find a partition missing, files gone, or data corrupted, stop using the drive immediately. Further writes can overwrite the “lost” data, making recovery impossible. This is where a dedicated, professional data recovery software becomes essential.
Why Choose Magic Data Recovery for This Task?
When faced with data loss after a disk repair attempt, you need a tool that is both powerful and precise. Magic Data Recovery is specifically engineered to handle post-CHKDSK scenarios and other complex data loss situations. Here’s why it stands out as the reliable solution:
Core Pain Point Solved: It specializes in recovering data from logically damaged, formatted, or inaccessible partitions—exactly the state a drive might be in after an aggressive CHKDSK repair on a failing disk.
Key Advantages:
- Deep Scan Technology: Goes beyond simple file lookup to reconstruct damaged file system structures, finding files that other tools miss.
- Preview Before Recovery: You can see previews of photos, documents, and other files before purchasing the software, ensuring the data you need is recoverable.
- Wide Format Support: Recovers data from NTFS, FAT32, exFAT, APFS, HFS+, and more, covering all common drive formats.
- User-Friendly Interface: Designed for all skill levels, guiding you through the recovery process with clear steps, unlike intimidating command-line alternatives.
Typical Use Case:
After chkdsk /r ran on a corrupted external drive, the drive now shows as “RAW” or “unallocated space” in Disk Management. Using Magic Data Recovery, you would:
- Select the problematic drive.
- Click the “Search for lost data” to scan the drive.
- Browse the scan results by original folder structure or file type.
- Preview found files, select what you need, and recover them to a different, healthy drive.
Why It’s More Reliable: Compared to free utilities that offer basic scans, Magic Data Recovery employs advanced algorithms to parse low-level disk data, giving it a much higher success rate for severe corruption. For users who value their time and data, its targeted functionality provides a far more efficient and trustworthy path to restoration.
If you’re dealing with the aftermath of a disk repair and need to get your files back, Magic Data Recovery offers a robust and user-centric solution. You can download it and try the preview scan for free to assess your recovery chances.
Supports Windows 7/8/10/11 and Windows Server
Best Practices and Pro Tips for Using CHKDSK
To maximize safety and effectiveness, follow these guidelines:
- Backup First: Always ensure critical data is backed up before running any disk repair tool.
- Start with /F: For general “disk error” messages, try
chkdsk /ffirst. It’s faster and solves most logical errors. - Use /R for Physical Symptoms: Reserve the chkdsk /r command for situations involving crashes, strange noises, or suspected physical damage.
- Let It Finish: Never interrupt a CHKDSK scan. Ensure your laptop is plugged in, and avoid restarting during the process.
- Monitor Drive Health: Use tools like
WMIC(in Command Prompt, typewmic diskdrive get status) or third-party S.M.A.R.T. monitoring software to check your drive’s health proactively.
Conclusion
The chkdsk r utility remains an indispensable part of the Windows toolkit for diagnosing and repairing serious disk errors. Understanding what the CHKDSK /R command does—locating bad sectors and recovering readable data—empowers you to use it wisely at the right time. Remember, its role is disk repair, not data recovery.
Despite its usefulness, the process carries inherent risks for already fragile drives, potentially leading to partition loss or inaccessible data. In these stressful situations, a specialized tool like Magic Data Recovery provides a critical lifeline. Its ability to delve deep into damaged file systems and recover files post-repair makes it an essential part of any responsible PC user’s toolkit, acting as the perfect complement to Windows’ built-in utilities. By combining proactive disk checks with a reliable hdd recovery plan, you can ensure your data remains protected.
Supports Windows 7/8/10/11 and Windows Server
FAQs
What is the use of R in chkdsk?
Is running chkdsk r safe?
Is it safe to stop CHKDSK r?
Is CHKDSK r safe for SSD?
How do I fix a corrupted HDD?
How long can CHKDSK r take?
Does CHKDSK r also do f?
How to check if HDD is corrupted?
What is the use of R in file handling?
Erin Smith is recognized as one of the most professional writers at Amagicsoft. She has continually honed her writing skills over the past 10 years and helped millions of readers solve their tech problems.