CHKDSK External Drive: How to Repair a Corrupted Drive with CMD
An external hard drive can fail without warning, and issues related to chkdsk external drive repair are among the most common concerns users search for when this happens. One moment it opens normally, and the next, Windows reports file system errors, asks you to format the drive, or refuses to read it altogether. In these situations, many users immediately worry about permanent data loss.
The good news is that not all external drive errors indicate physical damage. In many cases, the issue is caused by logical file system corruption, which can often be repaired safely using Windows’ built-in CHKDSK utility. When applied correctly, CHKDSK can restore access to an external drive without deleting existing data.
This guide explains what CHKDSK does on an external drive, when it is safe to use, how to run CHKDSK properly using Command Prompt, and what steps to take if CHKDSK is unable to fix the problem.
Table of Contents
What Does CHKDSK Mean for an External Drive?
CHKDSK (Check Disk) is a built-in Windows utility designed to scan storage devices for logical file system errors and physical disk issues. When used on an external drive—such as a USB flash drive, external HDD, or external SSD—CHKDSK analyzes the file system structure (NTFS, FAT32, or exFAT) and attempts to repair detected inconsistencies.
From a technical perspective, CHKDSK verifies metadata such as the Master File Table (MFT) on NTFS volumes, directory indexes, security descriptors, and file allocation records. According to Microsoft documentation, CHKDSK operates at the file system level, not the file-content level. This distinction is important: CHKDSK can repair structural damage, but it does not recover deleted or lost files.
The good news is that, in many cases, an external drive that appears corrupted or unreadable still contains intact data. Logical errors often prevent Windows from mounting the volume correctly, which is precisely where CHKDSK can help.
When Should You Run CHKDSK on an External Drive?
CHKDSK is appropriate when an external drive shows signs of logical corruption, such as:
- Windows prompts you to scan and fix the drive
- The drive opens slowly or freezes during access
- File names appear garbled or inaccessible
- Error messages like “The file or directory is corrupted and unreadable”
- The drive suddenly becomes RAW
However, if the drive makes clicking noises, disconnects randomly, or fails to be detected by BIOS or Disk Management, the issue may be hardware-related. In those situations, CHKDSK is not recommended and could worsen the damage.
How to Run CHKDSK on an External Drive Using Command Prompt
Before proceeding, do not panic. Running CHKDSK is a read-and-repair process that targets file system structures, not user files directly. That said, any repair operation carries some risk if corruption is severe.
Step-by-Step Instructions
1. Connect the external drive to your Windows PC.
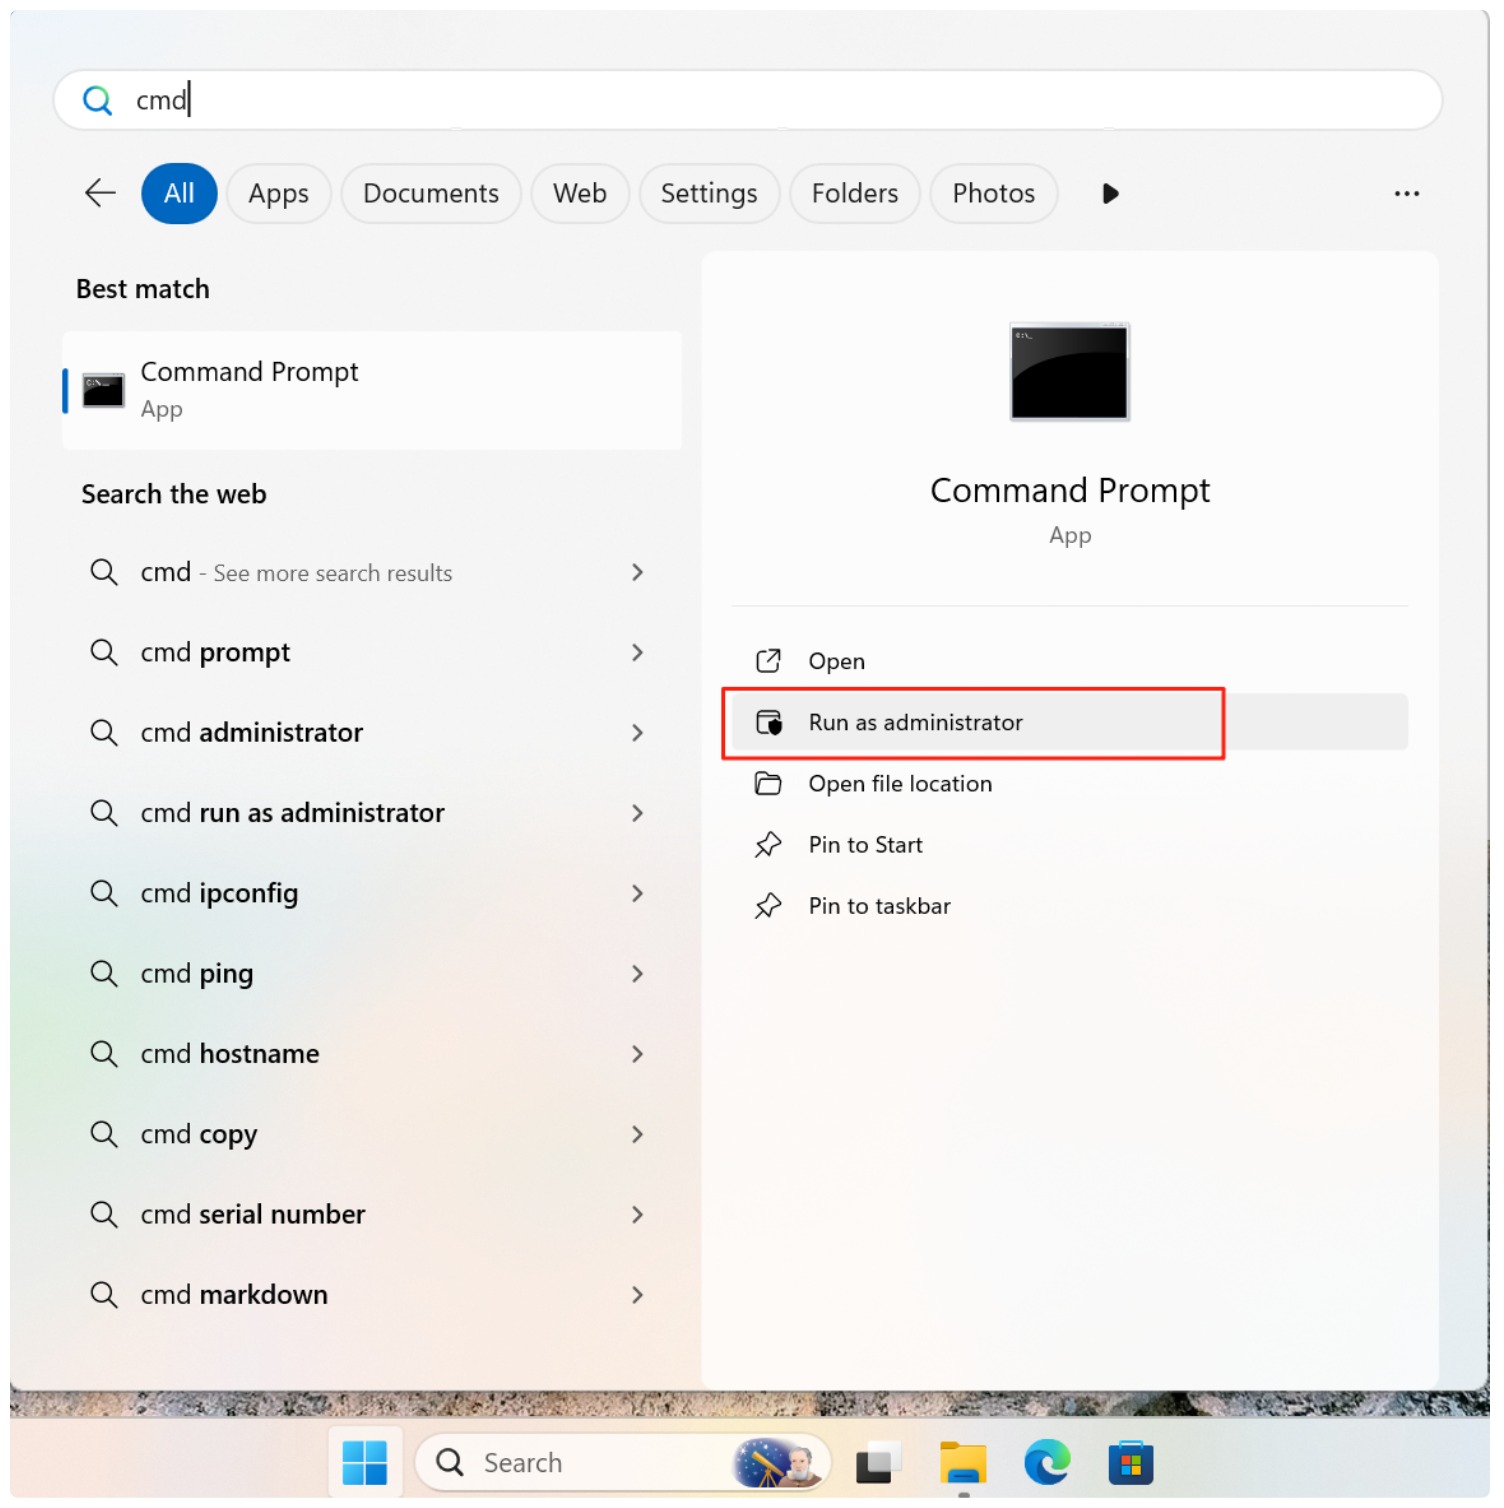
2. Press Win + S, type cmd, then right-click Command Prompt and select Run as administrator.
3. Identify the drive letter assigned to the external drive (for example, E: or F:).
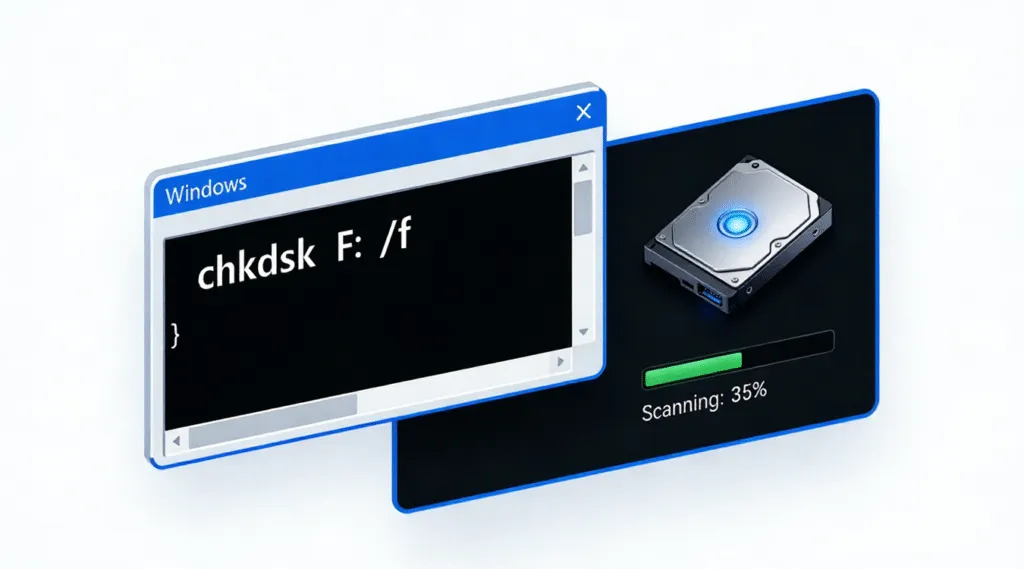
4. Enter the following command:
chkdsk G: /f /r
Replace G: with the correct drive letter.
5. Press Enter and wait for the scan to complete.

CHKDSK /F vs /R: Which One Is Better?
Choosing the correct parameter is essential:
- /F fixes logical file system errors such as incorrect file records or directory issues.
- /R locates bad sectors and attempts to recover readable data while also implying /F.
For most external drive issues, /F is the safer first option. It is faster and less aggressive. /R should only be used if you suspect physical disk degradation, as it performs a sector-by-sector scan that can take hours on large drives.
From a professional data recovery standpoint, running /R on a failing drive repeatedly can accelerate hardware failure. Use it cautiously.
What If CHKDSK Fails or the Drive Still Won’t Read?
If CHKDSK reports errors it cannot fix, or the external drive remains inaccessible after the scan, stop further repair attempts. Repeated command-line repairs may cause additional metadata loss.
At this stage, the priority shifts from repair to data recovery. Professional-grade external drive recovery solutions such as Magic Data Recovery can scan external drives in read-only mode, extract files from corrupted file systems, and avoid altering the original disk structure.
This approach aligns with best practices in digital forensics: recover data first, then consider reformatting or replacing the drive.
Best Practices Before Using CHKDSK on External Drives
- Avoid disconnecting the drive during the scan
- Do not run multiple repair tools simultaneously
- Stop immediately if unusual noises or disconnects occur
- Recover critical data before attempting advanced repairs
Maintaining control and proceeding methodically greatly reduces the risk of permanent data loss.
Conclusion
Supports Windows 7/8/10/11 and Windows Server
FAQ
How do I fix a corrupted external hard drive?
How to use CHKDSK to repair a USB drive?
How to repair an external hard drive using CMD?
Is CHKDSK F or R better?
How to fix an external hard drive that won't read?
Is there a free software to fix a corrupted external hard drive?
Can CHKDSK fix external hard drive issues?
How to run CHKDSK on external disk?
Vasilii is a data recovery specialist with around 10 years of hands-on experience in the field. Throughout his career, he has successfully solved thousands of complex cases involving deleted files, formatted drives, lost partitions, and RAW file systems. His expertise covers both manual recovery methods using professional tools like hex editors and advanced automated solutions with recovery software. Vasilii's mission is to make reliable data recovery knowledge accessible to both IT professionals and everyday users, helping them safeguard their valuable digital assets.