
How to Use a Bootable USB to Recover Files Safely
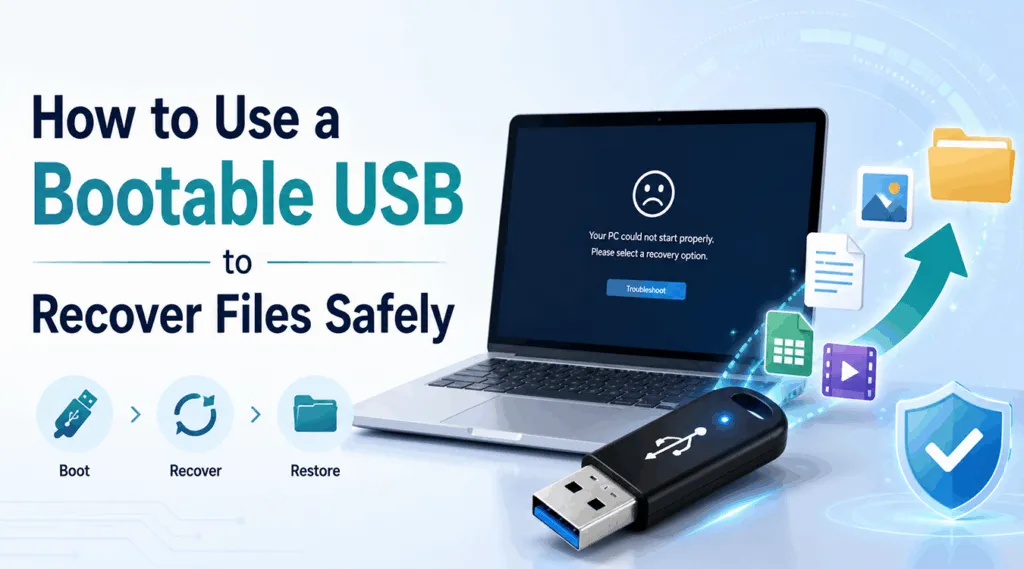
When Windows will not start, your photos, documents, and work files may still remain intact on the system drive. A bootable USB to recover files starts the computer in a separate environment, allowing you to access the internal disk without loading the damaged Windows installation. This method can help after a blue screen, failed update, boot loop, corrupted system files, or another startup failure.
However, startup media cannot recover every missing file by itself. It can help you copy readable data, but deleted, formatted, RAW, or inaccessible files may require a deeper scan. In these situations, a structured crashed OS recovery process helps you retrieve important data before attempting Windows repair or reinstallation.
This guide explains how to create and use a bootable USB to recover files, copy accessible data safely, and use Magic Data Recovery when normal file access no longer works.
Supports Windows 7/8/10/11 and Windows Server
Table of Contents
When Should You Use a Bootable USB to Recover Files?
A startup USB works best when Windows fails but the storage device still responds. For example, you may face a boot loop, blue screen, failed update, malware infection, or damaged startup files. In these cases, a bootable USB to recover files gives you another route to the disk before you repair Windows.
Situation | Best solution |
Windows will not start, but folders remain visible | Boot from USB and copy the files |
Files disappeared after deletion or formatting | Scan the affected disk with recovery software |
The partition appears RAW or inaccessible | Avoid formatting and run a recovery scan |
BitLocker locks the disk | Find the password or recovery key |
The disk clicks or repeatedly disconnects | Stop using it and contact a specialist |
The query recover files bootable usb often assumes one device can do everything. In practice, startup access and lost-file scanning require different tools.
What You Need Before Recovery
Before creating a bootable USB to recover files, prepare:
- A working Windows computer
- An empty USB flash drive
- A trusted Windows ISO
- Rufus or another reputable media creator
- A healthy drive for recovered files
- A SATA-to-USB adapter or enclosure, when needed
- Your BitLocker recovery key, if applicable
Rufus makes an ISO image bootable, but it does not search for deleted data. Therefore, use Rufus for startup access and a recovery program for deeper scanning.
Follow These Safety Rules First
Stop using the affected disk as soon as possible. New files, updates, and repairs may overwrite recoverable content.
In addition, do not reinstall Windows, format the partition, initialize the disk, or install software on the source drive. Save recovered files elsewhere. Finally, stop immediately if the disk clicks, grinds, or repeatedly disconnects because these signs may indicate physical damage.
How to Create a Bootable USB to Recover Files
Step 1: Download a Trusted ISO
First, download a Windows installation image, recovery image, or suitable live operating system from a trusted source. Avoid unofficial images because they may contain malware or unstable modifications.Step 2: Back Up the USB
Next, copy existing USB files elsewhere. Creating bootable media normally erases the selected device.Step 3: Create the USB with Rufus
Open Rufus and follow these steps:- Select the correct USB under Device.
- Choose the ISO under Boot selection.
- Use GPT for most modern UEFI computers.
- Choose MBR only when the system requires Legacy BIOS.
- Check the device name and capacity.
- Click Start and accept the erase warning.
Step 4: Prepare the Destination
Afterward, prepare a healthy drive with enough free space. Separate storage creates a clearer workflow and reduces accidental overwriting.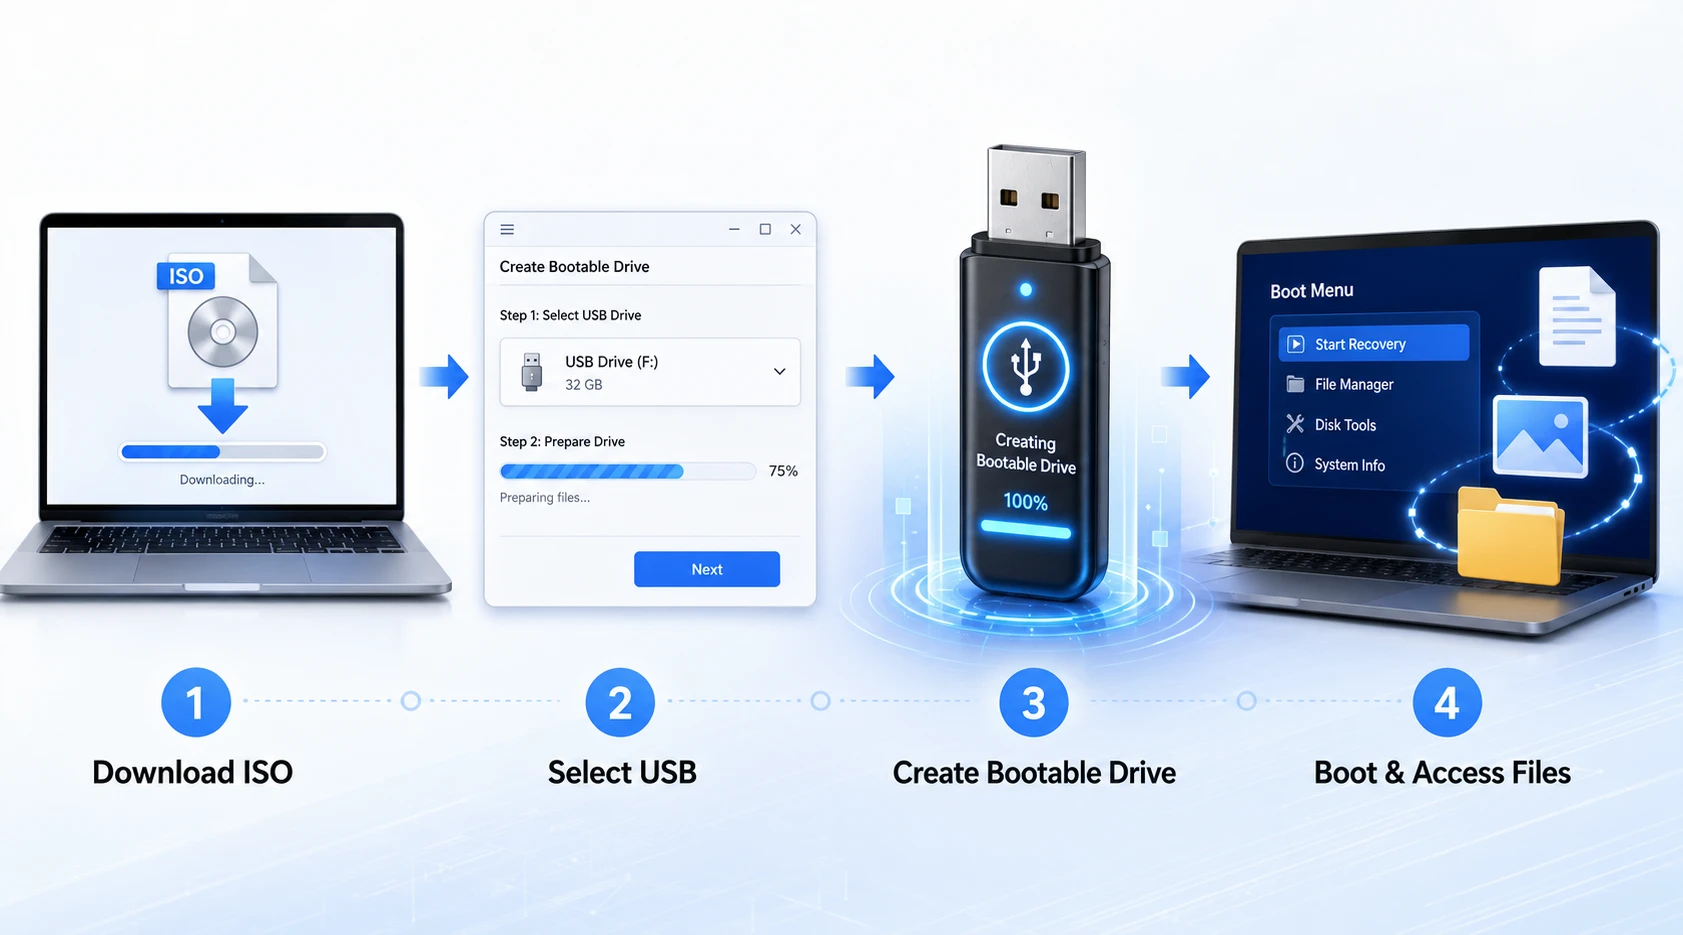
How to Start the PC from the USB
Insert the bootable USB to recover files into the failed computer. Next, turn on the PC and open its one-time boot menu. Common keys include F12, F9, F11, Esc, and Del, although each manufacturer may use a different key.
Then, select the USB entry that matches the firmware mode. Most modern PCs use UEFI. If the USB does not appear, try another port, recreate the media, or review the UEFI and Legacy BIOS settings.
Meanwhile, avoid unnecessary firmware changes, and never clear the TPM while you still need BitLocker-protected data.
Method 1: Copy Readable Files with a Bootable USB to Recover Files
Use this method when the internal disk appears and your folders still contain the required files:
- Start the computer from the USB.
- Open the available file manager.
- Locate the Windows partition.
- Connect the healthy destination drive.
- Copy the most important folders first.
- Open several copied files to verify them.
- Eject the destination safely.
For example, check Desktop, Documents, Downloads, Pictures, Videos, and custom project folders. This bootable USB to recover files method works quickly because the files still exist in their normal folders.
However, copying differs from recovery. Continue to the next method when folders appear empty, the partition requests formatting, or important files no longer appear.
Method 2: Recover Missing Data with Magic Data Recovery
Sometimes the startup environment detects the disk but cannot show the required files. Deletion, formatting, or file-system damage may remove the visible folder structure.
In that case, connect the affected disk to a healthy Windows computer. Consequently, you reduce source-disk activity and give the software a stable environment.
Why Magic Data Recovery Complements a Bootable USB to Recover Files
The startup USB solves an access problem. By contrast, Magic Data Recovery addresses logical data loss, including deleted files, formatted partitions, RAW volumes, missing folders, and inaccessible storage.
Its useful features include:
- A guided interface for ordinary Windows users
- Disk and partition scanning
- Advanced Scan for deeper file discovery
- Filters for narrowing large result lists
- Preview support before recovery
- Recovery to a healthy location
Therefore, Magic Data Recovery helps when a bootable USB to recover files cannot copy the required data. Moreover, its visual workflow is easier than command-line tools.
How to Use Magic Data Recovery
Step 1: Download and Install Magic Data Recovery
Download Magic Data Recovery on the healthy Windows computer. Install it on a drive other than the affected disk to avoid overwriting recoverable data.
Supports Windows 7/8/10/11 and Windows Server
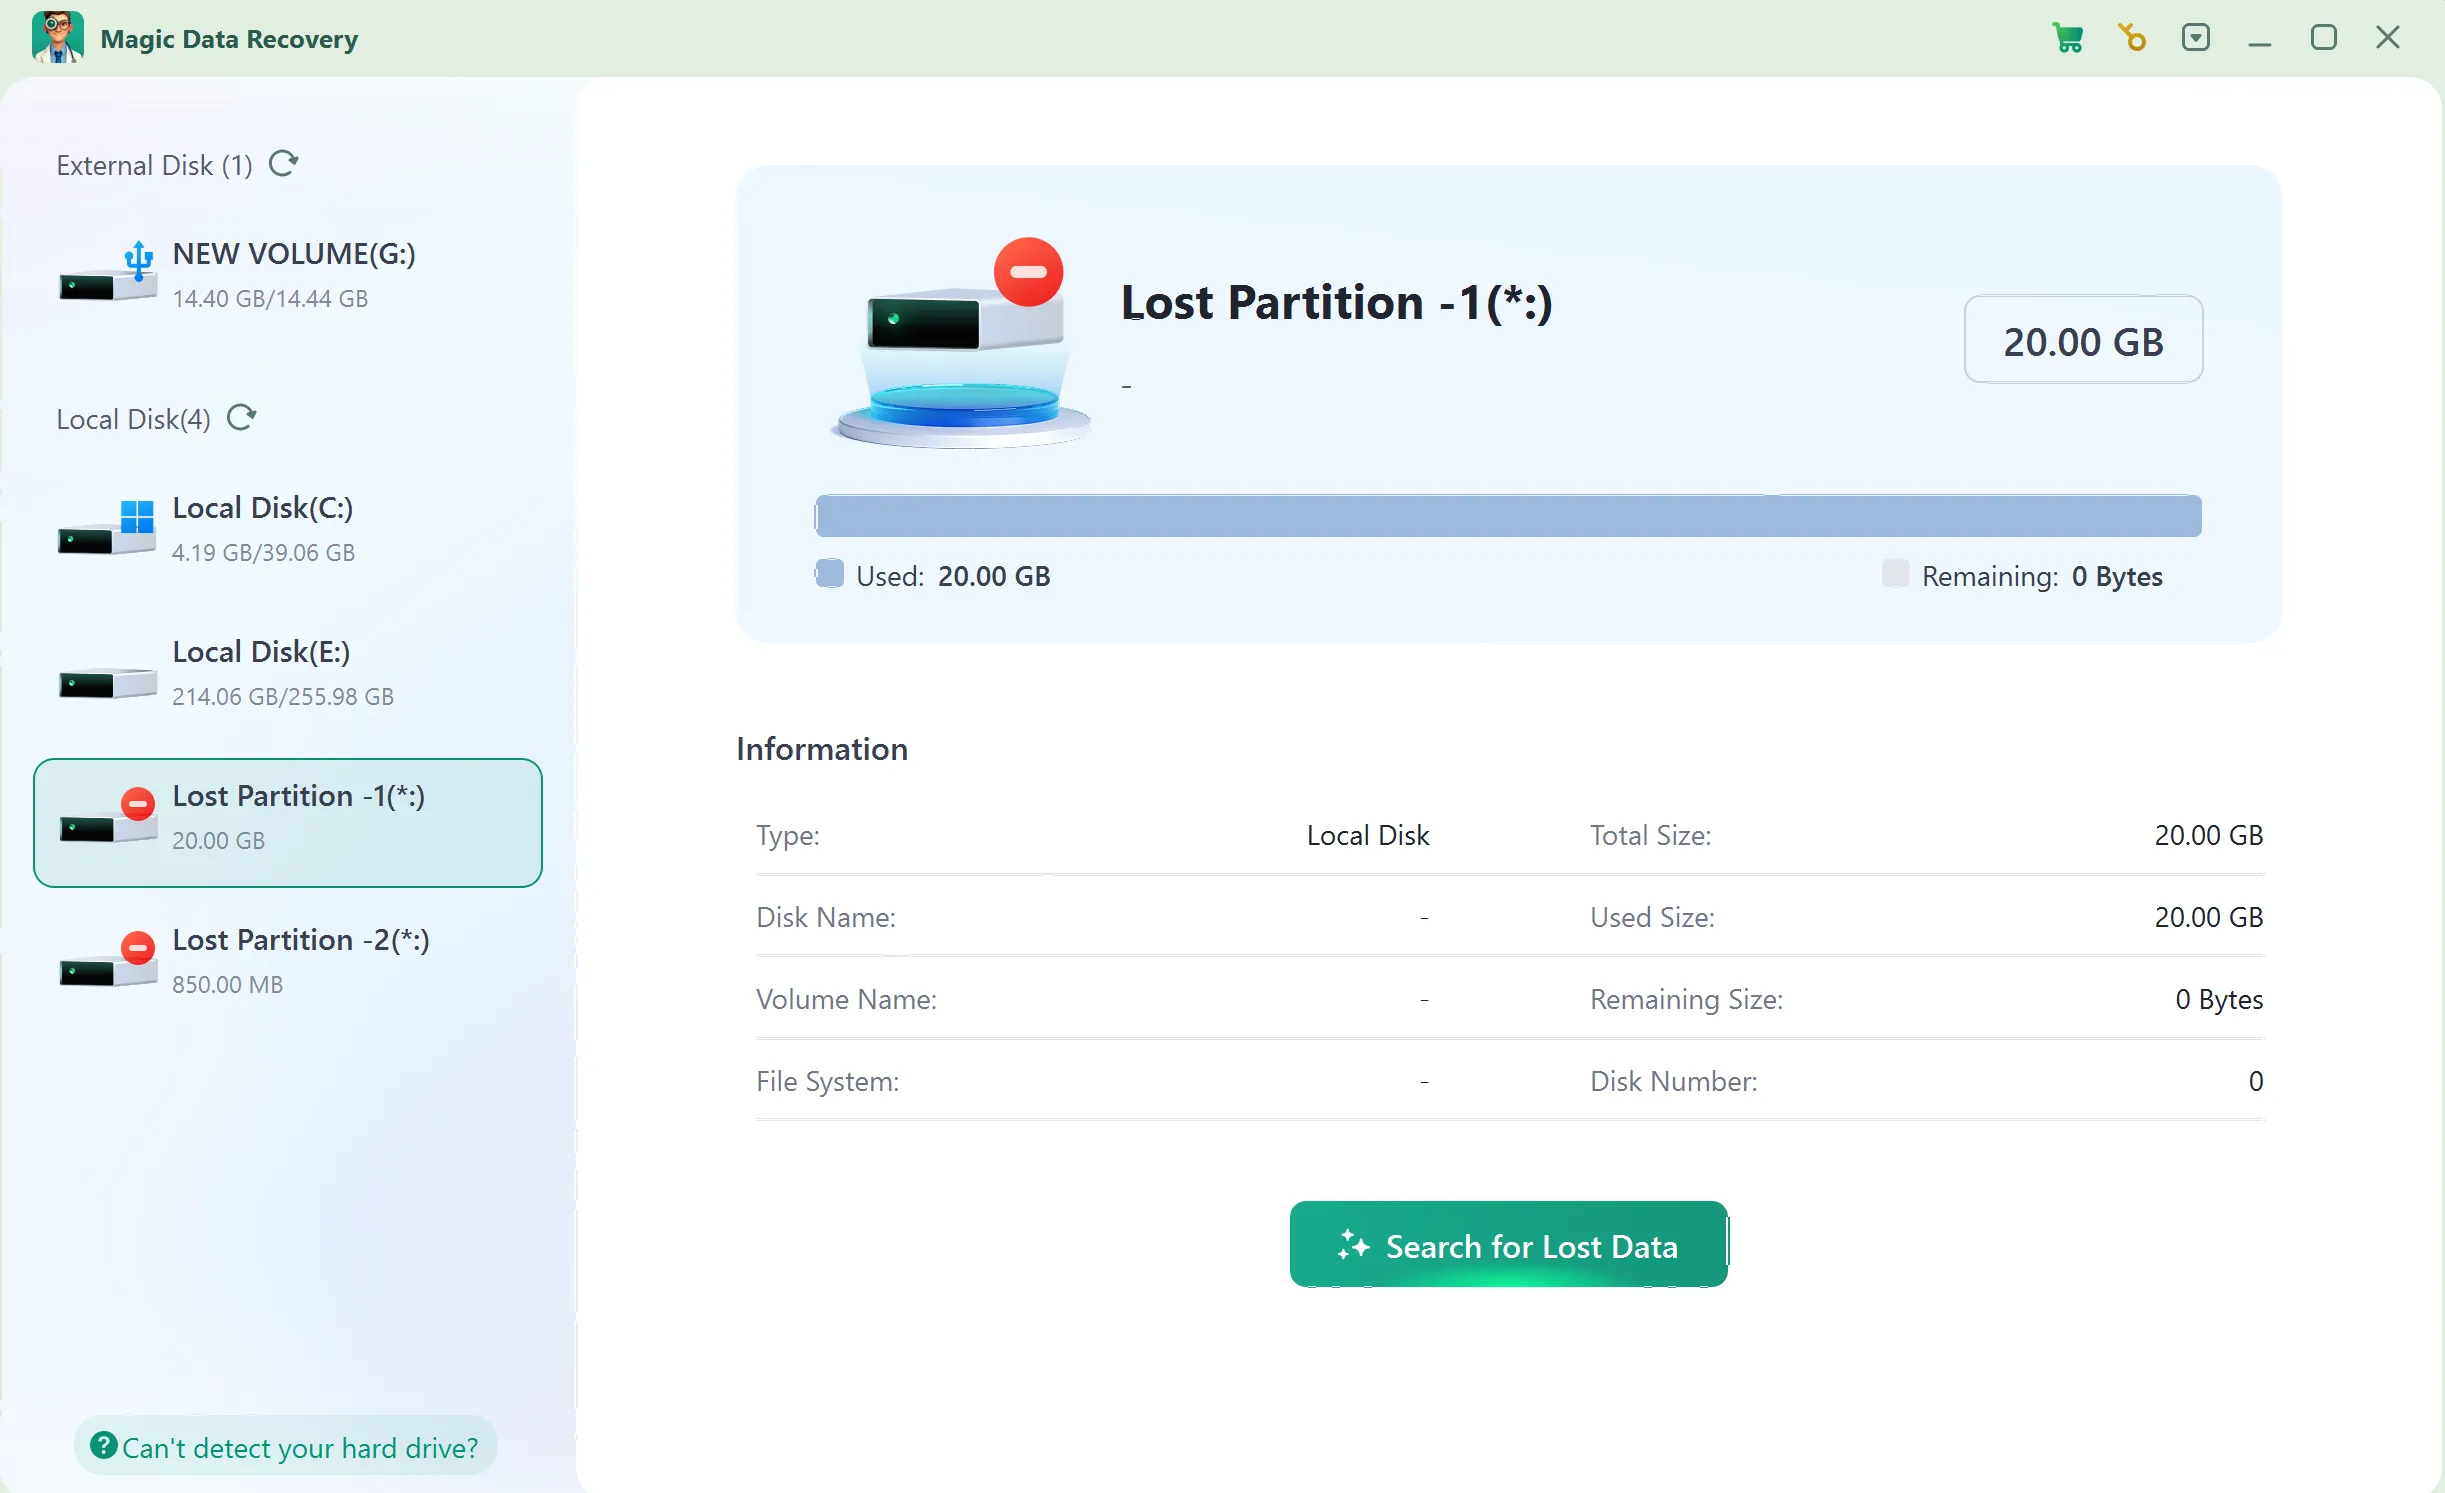
Step 2: Select the Affected Drive
Launch Magic Data Recovery. Then, locate the disk or partition that contains the missing, deleted, or inaccessible files. Confirm its name and capacity before starting the scan.
Step 3: Scan the Drive for Lost Files
Magic Data Recovery automatically starts an Advanced Scan after you choose the target drive. Meanwhile, recoverable files appear as the scan progresses. Let the process finish because a complete scan may find more data.
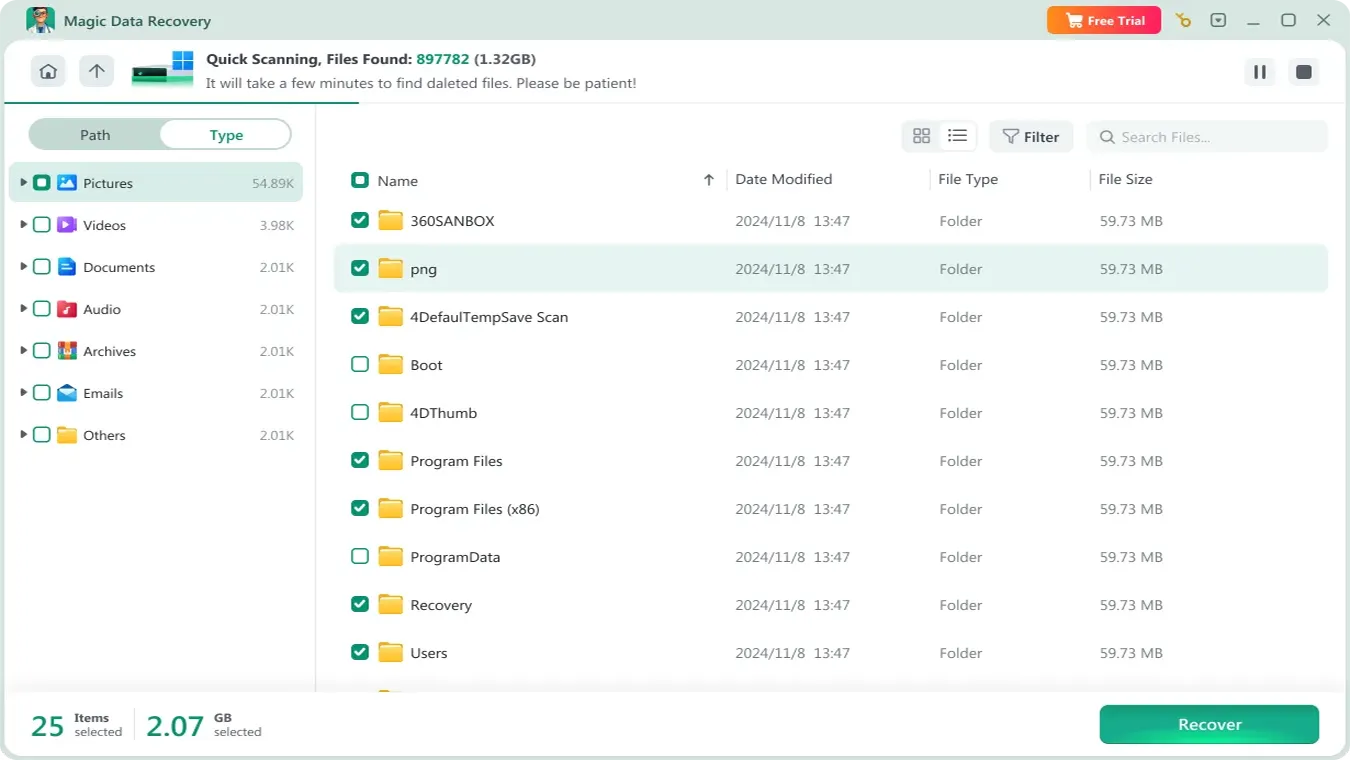
Step 4: Preview Files Before Recovery
Next, use the preview feature to check the content of found files. You can also filter results by file type, name, path, size, or date. As a result, you can locate important data faster.

Step 5: Recover Files to a Safe Location
Finally, select the files you want and click the recovery button. Save them to a healthy drive rather than the affected disk. Otherwise, new data may overwrite other lost files and reduce further recovery chances.
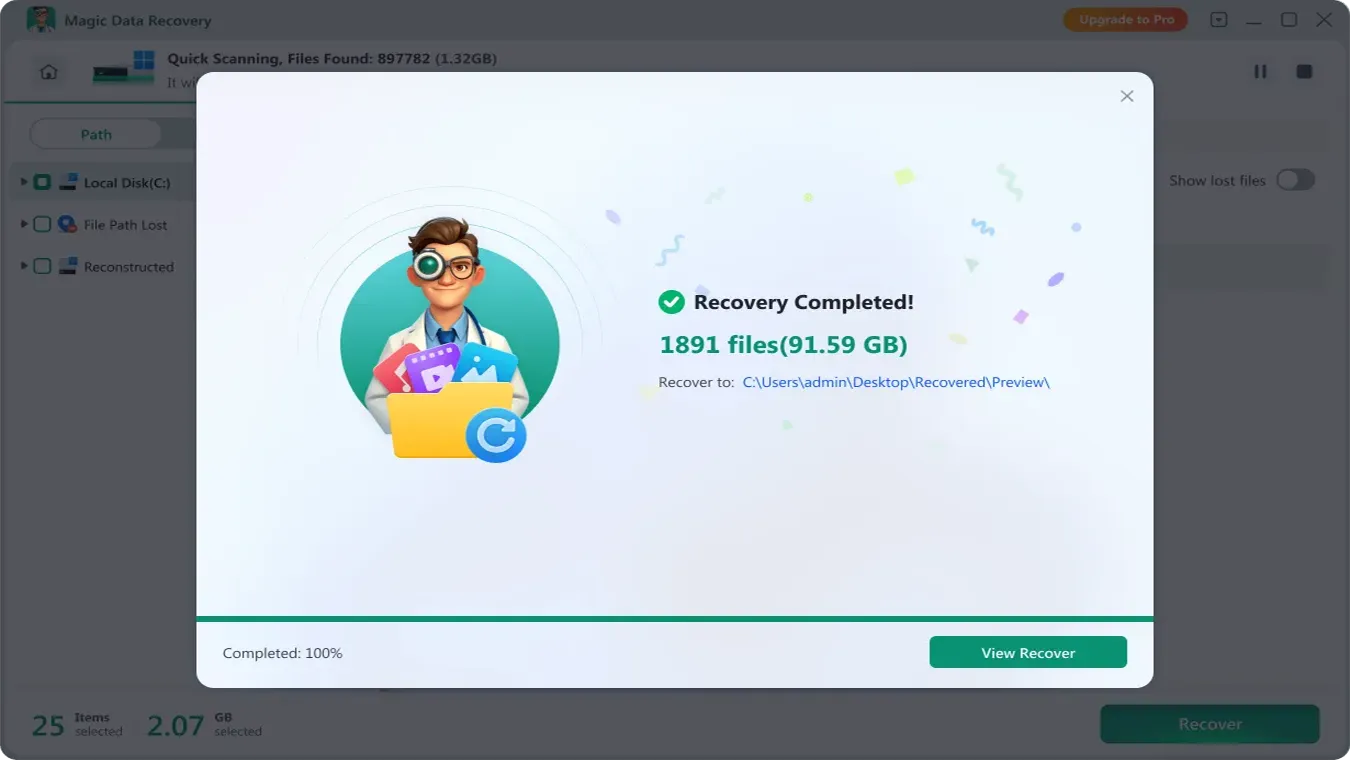
Magic Data Recovery runs in Windows and does not create the startup USB. Therefore, use Rufus or trusted Microsoft media for startup access. Afterward, use Magic Data Recovery when the disk needs a deeper scan.
Bootable USB to Recover Files vs. Recovery Software
Tool | Main purpose | Recovers deleted files? |
Windows installation USB | Opens setup and recovery options | Not by itself |
Windows recovery drive | Opens repair tools | Not by itself |
Rufus | Creates bootable media | No |
Magic Data Recovery | Scans deleted, formatted, or inaccessible data | Yes, for supported logical-loss cases |
Therefore, start with the USB when Windows cannot load. Next, copy readable files directly. If normal access fails, scan the disk with Magic Data Recovery from healthy Windows.
Tips for Better Recovery Results
When you recover files with a bootable USB, follow these tips:
- Recover irreplaceable photos and documents first.
- Keep the source disk unchanged until verification ends.
- Use a healthy destination with enough free space.
- Check previews, file sizes, names, and paths.
- Open recovered files instead of trusting filenames alone.
- Avoid repair tools until you secure important data.
- Create a new backup after recovery.
As a result, the bootable USB to recover files workflow stays organized and reduces avoidable mistakes.
Conclusion
A bootable USB to recover files gives you a practical way to reach data when Windows no longer starts. First, copy readable files to healthy storage. Then, verify them before repairing or reinstalling Windows.
However, startup media cannot restore every missing file. For deletion, formatting, RAW partitions, or file-system damage, Magic Data Recovery adds guided scanning, filters, and previews. Therefore, it complements a bootable USB to recover files without replacing the startup tool.
Supports Windows 7/8/10/11 and Windows Server
FAQ
Can a Bootable USB to Recover Files Work When Windows Will Not Start?
Yes. It starts the PC in a separate environment and lets you access a readable internal disk. However, the USB only solves the access problem. When deletion, formatting, or a RAW partition hides files, connect the disk to healthy Windows and use recovery software for a deeper scan.
Can Rufus Recover Deleted Files?
No. Rufus creates bootable USB media from an ISO image, but it does not scan disks for deleted data. Therefore, use Rufus to build the startup environment. Afterward, copy readable files or run Magic Data Recovery when missing files require a deeper scan.
Does Creating a Bootable USB Erase Its Files?
Yes. The creation process normally formats the selected USB and removes its contents. Consequently, back up the device before you begin. Also, check its name and capacity carefully in Rufus because choosing the wrong removable drive may erase valuable data.
Can I Use One USB for Startup and Recovered Files?
Some environments allow this setup, but separate devices usually provide a safer workflow. A dedicated destination offers more free space and reduces confusion between startup files and recovered data. In addition, it lowers the chance of writing new content to the affected source disk.
Should I Run CHKDSK Before Data Recovery?
Usually, no. CHKDSK changes file-system structures while it repairs errors. Therefore, copy readable data or scan for lost files first. After you verify the recovered files, you can consider repair tools on the original disk or, preferably, on a cloned copy.
Can a Bootable USB to Recover Files Unlock BitLocker?
No. Startup media cannot bypass BitLocker encryption. You normally need the password or 48-digit recovery key to access the protected volume. Check the associated Microsoft account, organization account, printout, text file, or USB record. Without the key, recovery software cannot decrypt the files.
Why Should I Choose Magic Data Recovery?
Magic Data Recovery offers a visual Windows workflow for deleted, formatted, RAW, or inaccessible storage. Moreover, Advanced Scan, filters, and preview tools help you find important files before recovery. It complements startup media because it handles deeper logical data loss when normal file copying no longer works.

Vasilii is a data recovery specialist with around 10 years of hands-on experience in the field. Throughout his career, he has successfully solved thousands of complex cases involving deleted files, formatted drives, lost partitions, and RAW file systems. His expertise covers both manual recovery methods using professional tools like hex editors and advanced automated solutions with recovery software. Vasilii's mission is to make reliable data recovery knowledge accessible to both IT professionals and everyday users, helping them safeguard their valuable digital assets.