
What Is TPM? TPM 2.0, Windows 11, BitLocker & How to Check It
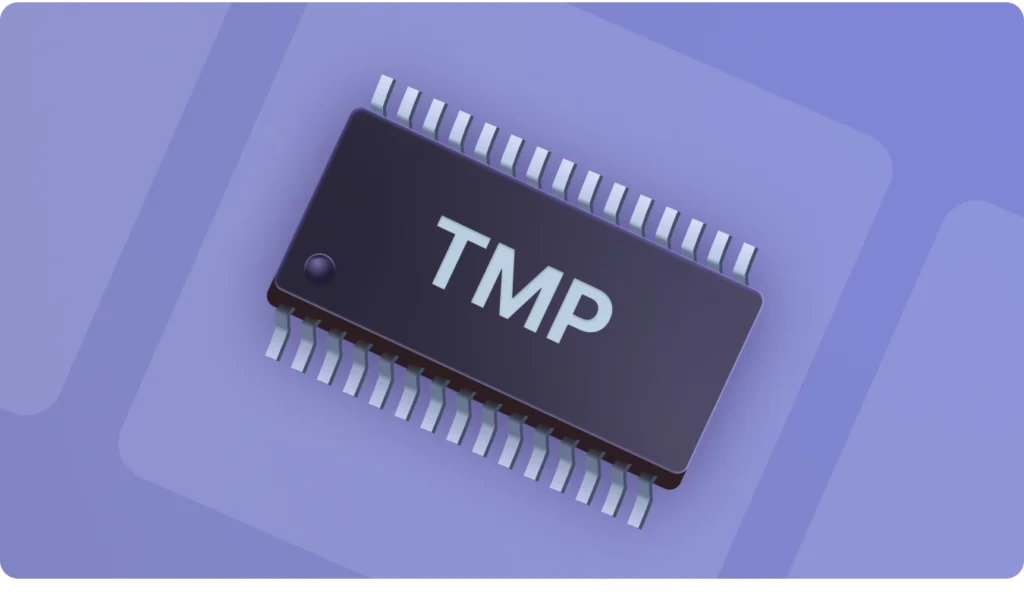
What is TPM on a computer? TPM, or Trusted Platform Module, is a hardware-based security technology used to protect encryption keys, verify system integrity, and support Windows security features such as BitLocker, Windows Hello, Secure Boot, and device encryption. On modern PCs, TPM may be a physical chip on the motherboard or a firmware-based feature built into the processor, such as Intel PTT or AMD fTPM.
If you are searching “what is TPM,” you are probably trying to understand why Windows 11 requires TPM 2.0, why BitLocker depends on TPM, or why your PC shows a message such as “TPM not detected” or “This PC must support TPM 2.0.” This guide explains what TPM does, the difference between TPM 1.2 and TPM 2.0, how to check your TPM version in Windows 10/11, how to enable TPM in BIOS/UEFI, and what to do if BitLocker asks for a recovery key after TPM changes.
Quick Answer: TPM is a security module that stores and protects sensitive keys, helps Windows confirm that the boot process has not been tampered with, and enables security features such as BitLocker and Windows Hello. TPM 2.0 is the modern version required for Windows 11 on supported hardware. To check it, press Win + R, type tpm.msc, and check Status and Specification Version.
Table of Contents
What Does TPM Do on a Computer?
TPM works like a protected security vault inside your computer. Instead of storing sensitive security information only in normal system storage, Windows can use TPM to help protect encryption keys, sign-in credentials, and boot integrity data.
For everyday users, TPM is most important in three situations.
First, TPM helps BitLocker protect your drive encryption key. When the computer starts normally, TPM helps Windows unlock the encrypted system drive. If the boot environment changes unexpectedly, BitLocker may ask for a recovery key to confirm that the device has not been tampered with.
Second, TPM helps Windows verify system integrity during startup. It can record measurements of early boot components so Windows can detect suspicious changes before the system fully loads.
Third, TPM supports modern Windows security features, including Windows Hello, device encryption, Secure Boot-related protection, and Windows 11 security requirements. This is why TPM 2.0 is often mentioned when users check whether a PC can upgrade to Windows 11.
In simple terms, TPM does not make a computer completely immune to attacks, but it helps Windows protect sensitive keys and detect certain types of unauthorized system changes.
Why Does TPM Matter for Windows 11 and BitLocker?
TPM matters because many modern Windows security features rely on hardware-backed protection instead of software-only protection. This is especially important for Windows 11 and BitLocker.
For Windows 11, TPM 2.0 is part of the minimum security requirements on supported hardware. If TPM is disabled or missing, the PC may fail the Windows 11 compatibility check.
For BitLocker, TPM helps protect the encryption key used to unlock the Windows drive. If you change TPM, BIOS/UEFI, Secure Boot, or motherboard settings, BitLocker may detect the change and ask for the 48-digit recovery key.
That is why you should always save your BitLocker recovery key before changing TPM settings in BIOS/UEFI.
TPM 1.2 vs TPM 2.0: What’s the Difference?
TPM 1.2 and TPM 2.0 are two versions of the Trusted Platform Module standard. If you are checking Windows 11 compatibility or BitLocker security, the most important point is simple: TPM 2.0 is the modern standard required for Windows 11 on supported hardware.
| Feature | TPM 1.2 | TPM 2.0 |
|---|---|---|
| Standard version | Older TPM standard | Newer TPM standard |
| Windows 11 support | Not enough for standard Windows 11 requirements | Required for Windows 11 on supported hardware |
| Security algorithm support | More limited | Supports broader modern cryptographic algorithms |
| Common devices | Older business PCs and legacy systems | Modern Windows 10/11 laptops and desktops |
| BitLocker usage | Can work with BitLocker in older setups | Better suited for modern BitLocker and Windows security |
| Recommended choice | Not recommended for new systems | Recommended for modern Windows PCs |
If your PC only has TPM 1.2, it may still support some older Windows security features. However, for Windows 11, you should check whether TPM 2.0 is available or can be enabled in BIOS/UEFI.
On many modern computers, TPM 2.0 may already exist but remain disabled by default. In that case, Windows may show “TPM not detected” or “This PC must support TPM 2.0,” even though the computer actually supports TPM through Intel PTT or AMD fTPM.
Do You Need a Physical TPM Chip?
Not always. Many modern computers do not need a separate physical TPM chip because TPM can also be implemented through firmware.
There are three common TPM implementations:
| TPM Type | What It Means | Common Example |
| Discrete TPM / dTPM | A separate physical security chip installed on the motherboard | Business desktops, workstations, some laptops |
| Firmware TPM / fTPM | TPM functionality built into system firmware and processor security features | AMD fTPM |
| Platform Trust Technology / PTT | Intel’s firmware-based TPM implementation | Intel PTT |
If you do not see a separate TPM chip on your motherboard, it does not always mean your PC has no TPM. Many Intel-based PCs use Intel PTT, while many AMD-based PCs use AMD fTPM. These options may appear in BIOS/UEFI under names such as PTT, AMD fTPM, Security Device Support, Trusted Computing, or TPM Device Selection.
For most users, firmware TPM is enough for Windows 11, BitLocker, Windows Hello, and device encryption. You only need to consider a physical TPM module if your motherboard specifically supports one and your system does not already provide firmware TPM.
Do not buy a TPM module randomly. TPM modules are often motherboard-specific, and the pin layout may differ by brand and model. Before buying one, check your motherboard manual or the official support page for your exact model.
How to Check If Your PC Has TPM in Windows 10/11
The easiest way to check whether your PC has TPM is to use the TPM Management tool in Windows. This method works on both Windows 10 and Windows 11.
Method 1: Check TPM with tpm.msc
- Press Win + R on your keyboard.
- Type tpm.msc.
- Press Enter.
- In the TPM Management window, check the Status section.
- Then check Specification Version.
If the Status shows “The TPM is ready for use” and the Specification Version shows 2.0, your PC has TPM 2.0 enabled.
If you see “Compatible TPM cannot be found,” it may mean one of the following:
TPM is disabled in BIOS/UEFI.
Your PC uses Intel PTT or AMD fTPM, but the setting is turned off.
Your BIOS/UEFI version needs an update.
Your hardware does not support TPM 2.0.
In this situation, do not immediately assume your PC is incompatible. Many computers support TPM 2.0 but require you to enable it manually in BIOS/UEFI.
Method 2: Check TPM in Windows Security
You can also check TPM through Windows Security.
- Open Start.
- Search for Windows Security.
- Open Device security.
- Look for Security processor.
- Click Security processor details.
- Check the Specification version.
If the page shows Security processor details and the specification version is 2.0, TPM 2.0 is active on your computer.
This method is easier for non-technical users because it uses the normal Windows interface instead of a system management console.
Method 3: Check TPM in Device Manager
Device Manager can also show whether Windows detects a TPM device.
- Right-click Start.
- Select Device Manager.
- Expand Security devices.
- Look for Trusted Platform Module 2.0.
If Trusted Platform Module 2.0 appears here, Windows has detected TPM on your PC.
If it does not appear, TPM may be disabled in BIOS/UEFI, hidden under Intel PTT or AMD fTPM, or unsupported by your hardware.
Method 4: Check TPM with PowerShell
Advanced users can check TPM status with PowerShell.
- Right-click Start.
- Select Windows Terminal or PowerShell.
- Run this command:
Get-Tpm
If TpmPresent shows True and TpmReady shows True, TPM is available and ready to use.
If TpmPresent is True but TpmReady is False, TPM may exist but not be initialized or enabled correctly. If TpmPresent is False, Windows does not currently detect TPM.
How to Enable TPM 2.0 in BIOS/UEFI
If Windows says TPM is not detected, but your PC supports TPM 2.0, you may need to enable it in BIOS/UEFI.
Before changing BIOS/UEFI settings, back up your BitLocker recovery key if BitLocker or device encryption is enabled. TPM, Secure Boot, and firmware changes can sometimes trigger a BitLocker recovery screen.
Steps to Enable TPM 2.0
- Restart your computer.
- Press the BIOS/UEFI key during startup. Common keys include F2, F10, F12, Del, or Esc.
- Open the Security, Advanced, Trusted Computing, or CPU Configuration section.
- Look for TPM, TPM Device, Security Device Support, Intel PTT, or AMD fTPM.
- Enable the TPM-related option.
- Save changes and exit BIOS/UEFI.
- Restart Windows.
- Press Win + R, type tpm.msc, and check whether TPM is now ready for use.

Common TPM Names in BIOS/UEFI
Different brands use different names for TPM settings. If you cannot find “TPM” directly, look for one of these options.
| PC or Motherboard Brand | Common BIOS Key | Common TPM Setting Name |
| Dell | F2 | TPM 2.0 Security |
| HP | Esc or F10 | TPM Device, Embedded Security, Security Chip |
| Lenovo | F1, F2, Enter, or Novo button | Security Chip, Intel PTT, AMD fTPM |
| ASUS | Del or F2 | PTT, AMD fTPM Configuration, Trusted Computing |
| MSI | Del | Security Device Support, TPM Device Selection |
| Gigabyte | Del | Trusted Computing, Intel PTT, AMD CPU fTPM |
| Acer | F2 or Del | TPM, Security Chip, Trusted Computing |
The exact option name depends on your device model and BIOS/UEFI version. If you still cannot find TPM settings, check the official support page for your laptop, desktop, or motherboard model.
Important Notes Before Enabling TPM
Enabling TPM usually does not delete your files or reset Windows. However, if BitLocker is enabled, changing TPM, Secure Boot, BIOS/UEFI, or boot settings may cause Windows to ask for the BitLocker recovery key.
Before making changes, make sure you have saved your recovery key in a safe place, such as your Microsoft account, printed copy, USB drive, or organization account.
Troubleshooting
1) “TPM not found” in Windows even after enabling
- Re-check BIOS: ensure Security Device Support is enabled (some BIOS require this first).
- If there is a PTT/fTPM toggle, confirm it’s Enabled.
- Update BIOS/UEFI to the latest official version.
2) You can’t see TPM/PTT/fTPM options in BIOS
- Look under Advanced, Security, and Trusted Computing.
- Use BIOS “search” (some UEFI allow it).
- Confirm CPU/platform support (older devices may not offer TPM 2.0).
3) The TPM option is greyed out or locked
- On work/school devices, an enterprise policy may lock it—contact IT.
- In some BIOS, you must set an Administrator/Supervisor password before editing security options.
4) BitLocker asks for the recovery key after the change
That’s expected in some cases because BitLocker detects a boot environment change. Use the key you saved, then Windows should return to normal once the configuration stabilizes.
TPM and BitLocker: Why You Might See a Recovery Key Screen
TPM and BitLocker are closely connected. BitLocker can use TPM to help protect the encryption key for your Windows system drive. When the computer starts normally, TPM helps confirm that the boot environment has not changed unexpectedly.
If TPM, BIOS/UEFI, Secure Boot, boot order, motherboard, or firmware settings change, BitLocker may treat the change as a possible security risk. In that case, Windows may ask for the 48-digit BitLocker recovery key before allowing access to the encrypted drive.
This does not always mean your data is damaged. It usually means BitLocker needs extra confirmation that you are the authorized user.
Common situations that may trigger a BitLocker recovery key screen include:
Enabling or disabling TPM.
Clearing TPM.
Updating BIOS/UEFI firmware.
Changing Secure Boot settings.
Changing boot order.
Replacing the motherboard.
Moving an encrypted system drive to another computer.
Changing certain hardware security settings.
Before you change TPM or BIOS/UEFI settings, always back up your BitLocker recovery key. If you do not have the recovery key, you may be locked out of the encrypted drive.
Need Help Finding Your BitLocker Recovery Key?
If BitLocker asks for a recovery key after TPM or BIOS changes, first check the places where the key may have been saved:
Your Microsoft account.
A printed copy.
A USB drive.
A text file or screenshot saved on another disk.
Your work or school account.
Your organization’s IT administrator.
If you cannot find the key manually, Magic Recovery Key can help scan accessible drives for saved BitLocker recovery key records, exported key files, screenshots, documents, or other local traces that may contain recovery information.
Important: Magic Recovery Key cannot bypass BitLocker encryption, break a BitLocker password, or generate a missing recovery key. It can only help search for recovery key information that was previously saved or stored somewhere accessible.
This makes it useful when you are trying to locate a saved recovery key before changing TPM settings, upgrading hardware, reinstalling Windows, or troubleshooting a BitLocker recovery screen.
Supports Windows 7/8/10/11 and Windows Server
Summary
What is TPM? TPM, or Trusted Platform Module, is a security technology that helps Windows protect encryption keys, verify system integrity, and support features such as BitLocker, Windows Hello, Secure Boot, and device encryption. On modern computers, TPM may be a physical chip, Intel PTT, or AMD fTPM.
For Windows users, TPM 2.0 is especially important because it is required for Windows 11 on supported hardware. If your PC shows “TPM not detected” or “This PC must support TPM 2.0,” TPM may be disabled in BIOS/UEFI or listed under another name, such as Intel PTT, AMD fTPM, Security Device Support, or Trusted Computing.
Before changing TPM, Secure Boot, BIOS/UEFI, or motherboard settings, always back up your BitLocker recovery key. These changes may trigger a BitLocker recovery screen, and you may need the 48-digit recovery key to unlock your encrypted drive.
If you cannot find a saved recovery key manually, Magic Recovery Key can help scan accessible drives for saved BitLocker recovery key records, exported key files, screenshots, documents, or other local traces that may contain recovery information. It cannot bypass BitLocker encryption, but it can help you search for recovery key information that was previously saved.
FAQs About TPM
What is TPM?
What is TPM 2.0?
Is TPM required for Windows 11?
How do I check if my PC has TPM?
How do I enable TPM 2.0 in BIOS?
Is Intel PTT the same as TPM?
Is AMD fTPM the same as TPM?
Can changing TPM trigger BitLocker recovery?
Should I clear TPM?
What should I do if TPM is not detected?

Erin Smith is recognized as one of the most professional writers at Amagicsoft. She has continually honed her writing skills over the past 10 years and helped millions of readers solve their tech problems.