
How to Auto Unlock BitLocker: 7 Effective Methods You Can Use
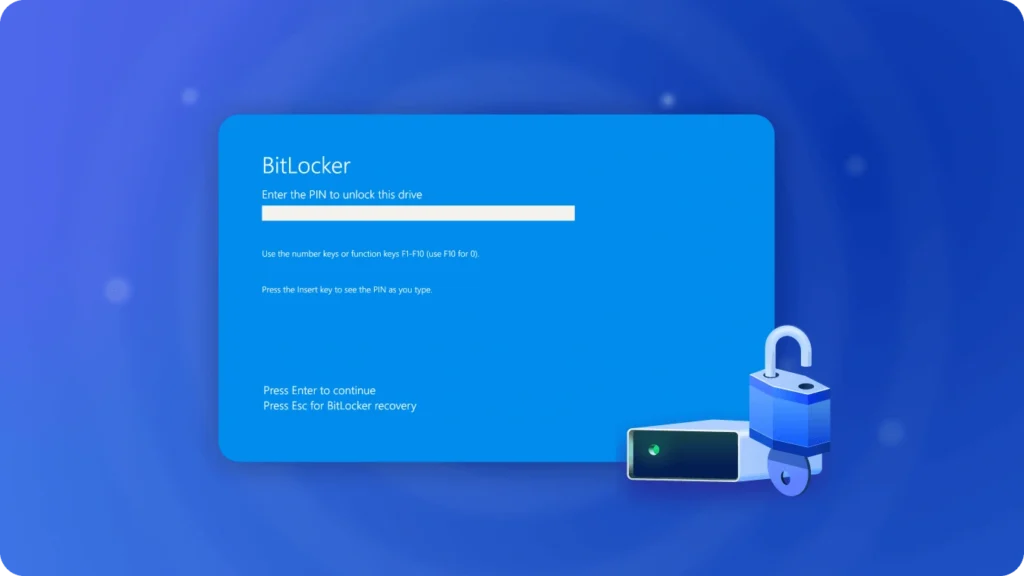
BitLocker auto unlock is an important feature in Windows that allows you to automatically access BitLocker-encrypted drives without repeatedly entering a password or recovery key. BitLocker is a powerful built-in encryption tool designed to protect sensitive data, but when you’re locked out of a drive due to a forgotten password, lost recovery key, or system error, enabling BitLocker auto unlock or recovering the correct key becomes essential.
In this guide, we’ll walk you through 7 effective BitLocker auto unlock methods to help you regain access safely. If you no longer have the original recovery key, tools like Magic Recovery Key, a dedicated BitLocker recovery key finder, can scan your system and help locate lost BitLocker keys quickly, making the unlock process much easier.
Supports Windows 7/8/10/11 and Windows Server
Table of Contents
1. BitLocker Auto Unlock via Command Prompt
1. Open the Command Prompt as an administrator. You can do this by searching for “cmd” in the Start menu, right-clicking, and selecting Run as administrator.

2. Type the following command to disable BitLocker on your encrypted drive:
manage-bde -off C:
(Replace “C:” with the appropriate drive letter if you’re unlocking a different drive.)
3. Press Enter and wait for the process to complete. The time it takes will depend on the size of the drive and the system’s performance.
Caution:
Improper use of this method may result in data loss or system instability. Always back up your data before proceeding.
2. BitLocker Auto Unlock Using PowerShell

Applicable Versions
This method works on Windows 10/11 Pro and Enterprise editions.
Steps to Unlock BitLocker Using PowerShell
1. Open PowerShell with administrator privileges. Search for “PowerShell” in the Start menu, then right-click and select Run as administrator.
2. Type the following command to disable BitLocker on the specified drive:
Disable-BitLocker -MountPoint "C:"(Again, replace “C:” with the correct drive letter if unlocking a different drive.)
3. Wait a few minutes for the system to disable BitLocker. Do not close PowerShell during this process to avoid interrupting the unlocking operation.
Notes:
This method can be a quick way to disable BitLocker if you’re comfortable with command-line tools.
3. BitLocker Automatic Unlock via Control Panel

Steps to Disable BitLocker Using Control Panel
1. Open the Control Panel by searching for it in the Start menu.
2. Go to System and Security, then select BitLocker Drive Encryption (or Device Encryption, depending on your version).
3. Click on the drive you wish to unlock and select Turn off BitLocker. Follow the prompts to complete the process.
Potential Issues:
This method may ask for your password or recovery key. If you’ve forgotten them, this method will not be effective, and you’ll need to try other methods, such as using BitLocker Unlocking Software.
4. BitLocker Automatic Unlock Using Group Policy Settings
Steps to Unlock BitLocker Using Group Policy
1. Press Win + R, type gpedit.msc, and press Enter to open the Group Policy Editor.
2. Navigate to:
Computer Configuration > Administrative Templates > Windows Components > BitLocker Drive Encryption > Fixed Data Drives.
3. Find the policy Deny write access to BitLocker-protected fixed drives, double-click it, and set it to Disabled. Click Apply, then OK.
4. Restart your computer for the changes to take effect. The system will now automatically handle unlocking the drive.
Important:
Changing group policy settings can impact other system features. It’s advisable to back up your current settings before making changes.
5. BitLocker Automatically Unlock via Services

Steps to Disable BitLocker Service
1. Press Win + R, type services.msc, and hit Enter to open the Services window.
2. Locate the BitLocker Drive Encryption Service, right-click it, and select Properties.
3. In the Startup type dropdown, select Disabled, click OK, and then restart your system to disable BitLocker.
6. BitLocker Auto Unlock via File Explorer
Steps to Disable BitLocker Using File Explorer
1. Open File Explorer and navigate to the encrypted drive.
2. Right-click the drive, select Manage BitLocker, and click Turn off BitLocker.
3. Follow the on-screen prompts to complete the process.
Limitations:
This method may also require the password or recovery key. If you’ve lost them, you may not be able to unlock the drive using this method.
7. Using Third-Party Software to Force Unlock BitLocker
If you’ve lost your password or recovery key, Magic Recovery Key is a popular software that can help you recover the BitLocker key and unlock your drive.
Features of Magic Recovery Key:
Free to use with a user-friendly interface.
High success rate in detecting and recovering BitLocker encryption keys.
Scans your drive for BitLocker keys and provides easy access to the recovery key.
Steps to Use Magic Recovery Key
1. Download and install Magic Recovery Keyfrom a trusted source.
Supports Windows 7/8/10/11 and Windows Server
2. Open the software and select BitLocker Recovery Key in the left menu.

3. Click Search to let the software scan for the BitLocker key.
4. Once the key is found, copy it and use it to unlock your encrypted drive.

Caution:
The success rate of key recovery is not 100%, especially if the key has been deleted or not backed up. It’s always a good idea to back up your BitLocker recovery key to avoid such issues in the future.
Enabling BitLocker Auto Unlock for Future Convenience
If you often need to access encrypted drives, setting up BitLocker auto unlock can save you time. This feature allows Windows to automatically unlock your BitLocker-protected drives when you log in with your Microsoft account or if the drive is attached to a trusted device.
Steps to Enable BitLocker Automatic Unlock
1. Open BitLocker Drive Encryption from the Control Panel or Settings.
2. Select the drive you want to set up for auto unlock.
3. Click on Turn on auto unlock. Windows will remember your credentials and automatically unlock the drive whenever it’s connected to a trusted computer.
Benefits:
BitLocker automatic unlock can be a huge convenience for users who want seamless access to encrypted drives without constantly entering passwords or recovery keys.
Conclusion
Whether you’ve forgotten your BitLocker password, lost your recovery key, or simply want a faster way to access your encrypted drive, these 7 methods provide practical solutions. From BitLocker auto unlock settings to using third-party software like Magic Recovery Key, you can find the method that best fits your situation.
Always ensure that your important data is backed up, and remember to store your recovery key securely to avoid potential issues in the future. By using these tips and tools, you can quickly regain access to your encrypted BitLocker drive.
Supports Windows 7/8/10/11 and Windows Server
FAQs
How to use the command line function to unlock BitLocker?
Is it safe to disable BitLocker?
Can Magic Recovery Key find all BitLocker keys?
What does BitLocker auto unlock actually do?
Can I use BitLocker auto unlock on removable drives?
Is BitLocker auto unlock secure?
How do I turn off BitLocker auto unlock?
Does BitLocker auto unlock work on multiple computers?

Erin Smith is recognized as one of the most professional writers at Amagicsoft. She has continually honed her writing skills over the past 10 years and helped millions of readers solve their tech problems.