How to Format NVMe in Windows 11 Safely
Supports Windows 7/8/10/11 and Windows Server
Table of Contents
Why You May Need to Format an NVMe SSD on Windows 11
Before formatting, it helps to understand the situation. Users commonly experience:
① The NVMe drive showing as RAW in Disk Management
② Windows 11 asking to format before use
③ Slow read/write speeds due to corrupted file system
④ Switching between file systems (e.g., NTFS, exFAT) for compatibility
⑤ Preparing the NVMe as a bootable or storage drive
These scenarios typically point to a file system or partition structure issue. Formatting resolves it, but it can also erase data. If your files are important, do not panic—your data is not truly lost.
How to Format NVMe in Windows 11 Using Standard Windows Tools
Format NVMe via File Explorer
This method works when the drive is recognized normally.
Steps:
① Open File Explorer.
② Right-click your NVMe drive.
③ Select Format.
④ Choose NTFS, exFAT, or FAT32 (default NTFS for Windows).
⑤ Click Start to begin formatting.
Best for: simple reformatting, storage drives.
Format NVMe Using Disk Management
Use this if Windows detects the disk but not the partition.
Steps:
① Press Win + X, choose Disk Management.
② Locate your NVMe SSD.
③ Right-click the volume → Format.
④ Set file system to NTFS and click OK.
If the disk is unallocated:
① Right-click the Unallocated space.
② Choose New Simple Volume.
③ Follow the wizard to format.
Format NVMe via Diskpart (Advanced)
This is useful when the drive is corrupted or cannot be formatted through the GUI.
Steps:
① Press Win + S, type cmd, choose Run as administrator.
② Enter:
					diskpart
list disk
select disk X
clean
create partition primary
format fs=ntfs quick
③ Type exit.
Warning:clean removes all partitions.
What If Your Data Is Important?
Formatting always erases data, even when using quick format. If your NVMe contains important files but is inaccessible, RAW, or Windows keeps asking to format it, you should recover data before you perform any formatting.
Magic Data Recovery offers a professional, read-only solution that protects your drive while retrieving files.
How to Recover Your NVMe Data Before Formatting (Step-by-Step)
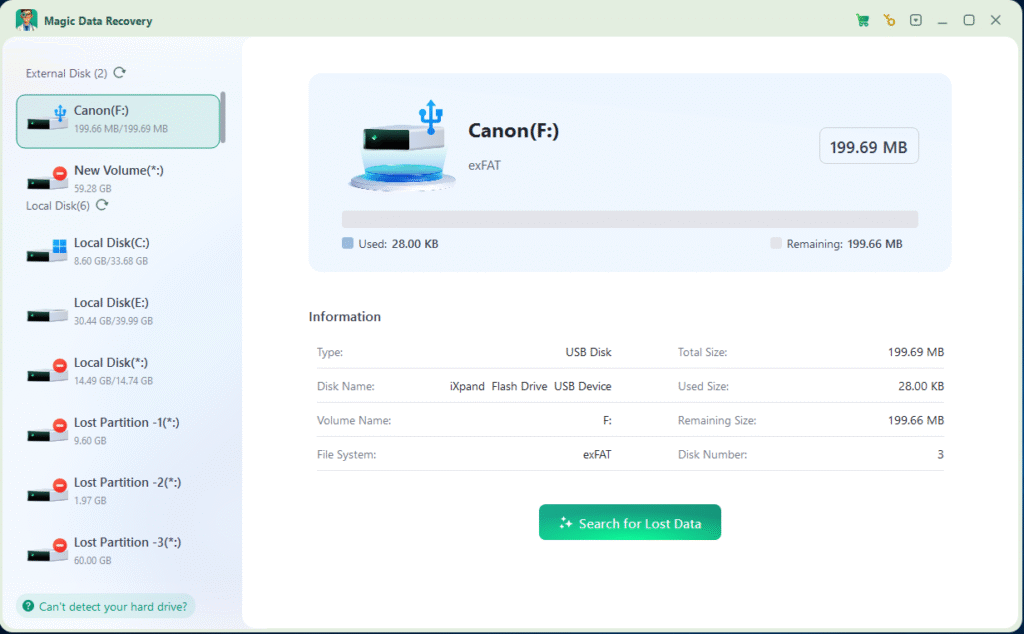
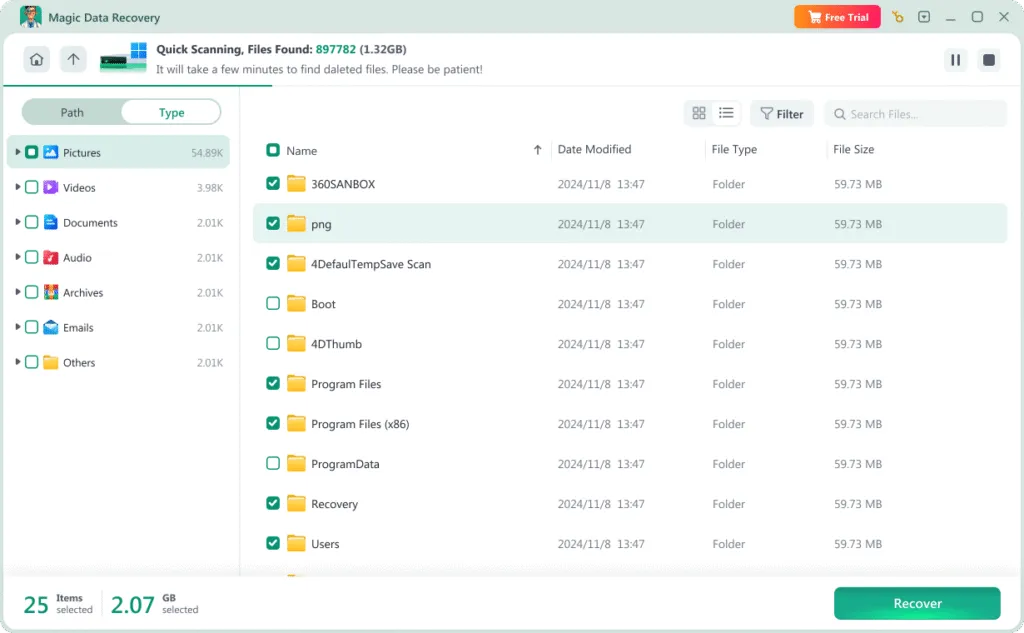
Magic Data Recovery performs a non-destructive scan, allowing you to extract data safely before formatting your NVMe drive.
Step-by-Step Recovery Process
①. Download and Install: Get Magic Data Recovery from the official website and install it on your computer.
Supports Windows 7/8/10/11 and Windows Server


Conclusion
Learning how to format NVMe Windows 11 helps you fix corrupted file systems, improve drive performance, and prepare the SSD for new installations. If your NVMe contains important data, always recover it first using a safe, professional tool.
To recover data from a formatted drive, you can download Magic Data Recovery and restore your files safely before formatting.
Supports Windows 7/8/10/11 and Windows Server
How to Format NVMe Windows 11 FAQs
How do I format NVMe in Windows 11?
How to fully format an NVMe?
How to initialize NVMe in Windows 11?
How to wipe an M.2 SSD in Windows 11?
Do NVMe drives need to be formatted?
How to format SSD drive on Windows 11?
How to fully wipe NVMe?
Is F11 or F12 factory reset?
How to format NVMe SSD in BIOS?
Erin Smith is recognized as one of the most professional writers at Amagicsoft. She has continually honed her writing skills over the past 10 years and helped millions of readers solve their tech problems.