
What Is the TRIM Command and How to Use It Safely
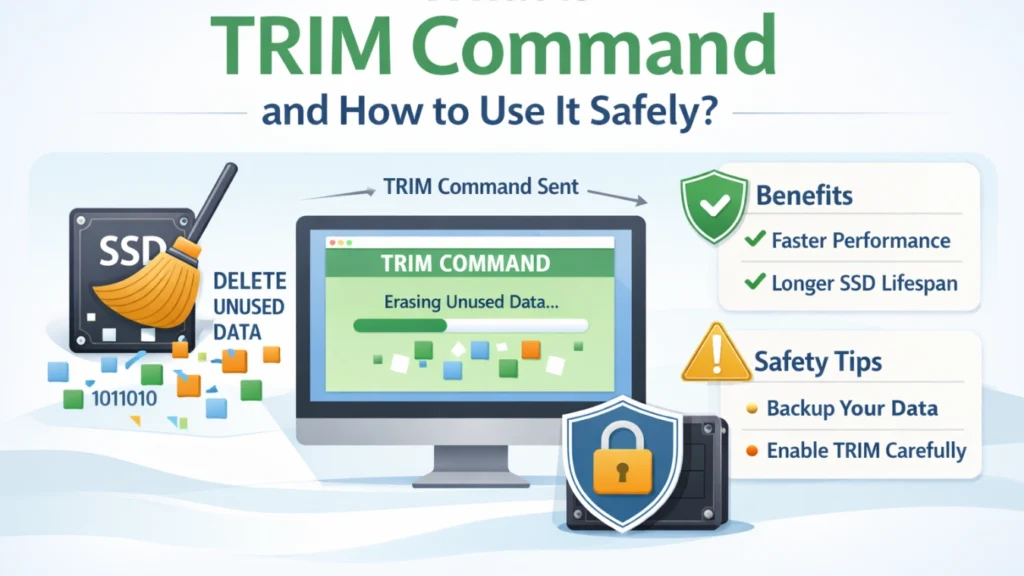
The TRIM command is an SSD management feature that allows the operating system to tell a solid-state drive which data blocks are no longer in use. This helps the SSD manage free space efficiently and maintain consistent write performance over time.
In Windows 11 and Windows 10, TRIM is normally managed automatically, but you can check its status, enable or disable it, and manually optimize an SSD when necessary.
In this guide, we’ll explain how the TRIM command works, how to check and use TRIM on Windows, Linux, and macOS, and what TRIM means for SSD data recovery if files are accidentally deleted.
Table of Contents
What Exactly Is the Trim Command?
The TRIM command is a storage instruction that allows an operating system to tell an SSD which logical blocks are no longer being used by the file system.
When you delete a file, the operating system can send a TRIM notification for the blocks that previously stored that data. The SSD controller can then treat those blocks as unused and reclaim them during its internal cleanup and garbage-collection processes.
TRIM does not simply “delete files faster.” Its main purpose is to help the SSD manage unused space efficiently so future write operations do not have to spend as much time reorganizing or preparing previously used blocks.
In practice, TRIM can help:
- maintain consistent SSD write performance;
- reduce unnecessary internal data movement;
- improve free-space management;
- support the SSD’s long-term efficiency.
Modern operating systems generally manage TRIM automatically when both the storage device and the storage stack support it.
Why SSDs Need TRIM
SSDs store data in flash memory cells. These cells cannot overwrite old data directly.
So before writing new data, the SSD must erase existing blocks first.
The trim command helps solve this by:
- reducing write delays
- improving long-term speed
- lowering wear on memory cells
Because of these benefits, most experts recommend keeping the trim command SSD function enabled.
How to Check TRIM Status in Windows 11/10
Many users want to confirm whether the command is active.
Fortunately, Windows provides a simple built-in method.
Step 1: Open Command Prompt as Administrator
- Search for “cmd”
- Right-click
- Choose “Run as Administrator”
Step 2: Run the TRIM Status Command
Type:
fsutil behavior query DisableDeleteNotify
Step 3: Understand the TRIM Status
After running the command, Windows may display results such as:
NTFS DisableDeleteNotify = 0
or:
NTFS DisableDeleteNotify = 1
Here is what they mean:
- DisableDeleteNotify = 0: TRIM/delete notifications are enabled for the file system.
- DisableDeleteNotify = 1: TRIM/delete notifications are disabled.
A value of 0 means Windows is configured to send TRIM notifications when supported. However, this setting alone does not guarantee that every connected SSD or storage controller supports TRIM.
How to Enable TRIM in Windows
If TRIM is disabled, you can enable it by running:
fsutil behavior set DisableDeleteNotify 0
After that, Windows will start using the trim automatically.
How to Disable TRIM in Windows
In most cases, you should leave TRIM enabled. However, if you need to temporarily disable TRIM for testing or troubleshooting, open Command Prompt as administrator and run:
fsutil behavior set DisableDeleteNotify 1
To enable it again, run:
fsutil behavior set DisableDeleteNotify 0
You can verify the current setting at any time with:
fsutil behavior query DisableDeleteNotify
For normal SSD use, keeping TRIM enabled is generally recommended.
How to Manually Run the TRIM Command in Windows 11/10
Windows normally optimizes supported SSDs automatically, so most users do not need to run TRIM manually. However, you can trigger SSD optimization yourself when troubleshooting performance or checking drive maintenance.
Method 1: Use Optimize Drives
- Open Windows Search and type Defragment and Optimize Drives.
- Open the Optimize Drives utility.
- Select your SSD.
- Click Optimize.
Windows recognizes supported solid-state drives and performs the appropriate SSD optimization rather than treating them like traditional hard drives.
Method 2: Run ReTrim with PowerShell
Open PowerShell as administrator and run:
Optimize-Volume -DriveLetter C -ReTrim -Verbose
Replace C with the drive letter of the SSD you want to optimize.
The -ReTrim option sends TRIM/UNMAP hints for unused sectors to the underlying storage device.
How to Use the Trim on Linux
Linux provides the fstrim utility for sending discard requests for unused blocks on supported filesystems and storage devices.
Check Discard/TRIM Support
Run:
lsblk --discard
This displays discard-related information for each block device. Devices that report supported discard capabilities may support TRIM or a similar discard operation.
Manually Run TRIM
To trim the root filesystem, run:
sudo fstrim -v /
You can also trim all supported mounted filesystems with:
sudo fstrim -av
Use Scheduled TRIM
Many Linux distributions provide an fstrim.timer service for periodic TRIM. Where available, you can enable it with:
sudo systemctl enable --now fstrim.timer
For typical desktop and server systems, periodic TRIM is usually preferable to running fstrim unnecessarily often.
How macOS Handles the Trim Command
macOS enables the trim automatically on Apple SSDs.
For third-party SSDs, you can enable TRIM using:
sudo trimforce enable
Apple recommends using this only with compatible drives.
Why TRIM Makes Deleted SSD Data Harder to Recover
TRIM can significantly reduce the chance of recovering deleted files from an SSD.
When a file is deleted, the operating system may notify the SSD that the corresponding logical blocks are no longer needed. The SSD controller can then reclaim those blocks as part of its internal garbage-collection process.
Once the underlying NAND pages containing the deleted data have been erased or are no longer accessible through the SSD controller, conventional recovery software generally cannot reconstruct the original file data.
This is one of the key differences between recovering deleted files from an SSD and recovering them from a traditional HDD.
However, TRIM behavior is not identical in every situation. Recovery results can vary depending on the SSD, controller, operating system, file system, storage interface, and whether TRIM was actually issued and processed.
What to Do Immediately After Data Loss on a TRIM SSD
If important files are deleted from an SSD, minimize activity on the affected drive immediately.
- Stop copying or downloading files to the SSD.
- Avoid installing software on the affected SSD.
- Do not format, initialize, or run unnecessary repair operations on the drive.
- If possible, install recovery software on another healthy drive.
- Save any recovered files to a different storage device.
TRIM can reduce the recoverability of deleted SSD data, but there is no universal time limit such as 10 minutes or 30 minutes. Whether files remain recoverable depends on whether the relevant blocks have already been processed by the SSD.
Can Data Be Recovered from a TRIM-Enabled SSD?
Sometimes, but recovery from a TRIM-enabled SSD can be much more difficult than recovery from a traditional HDD.
If TRIM has already been processed and the SSD controller has reclaimed the affected blocks, the deleted data may no longer be accessible to recovery software. However, recovery may still be possible in other SSD data-loss scenarios, including damaged file systems, RAW partitions, inaccessible volumes, or cases where the relevant data blocks have not been cleared.
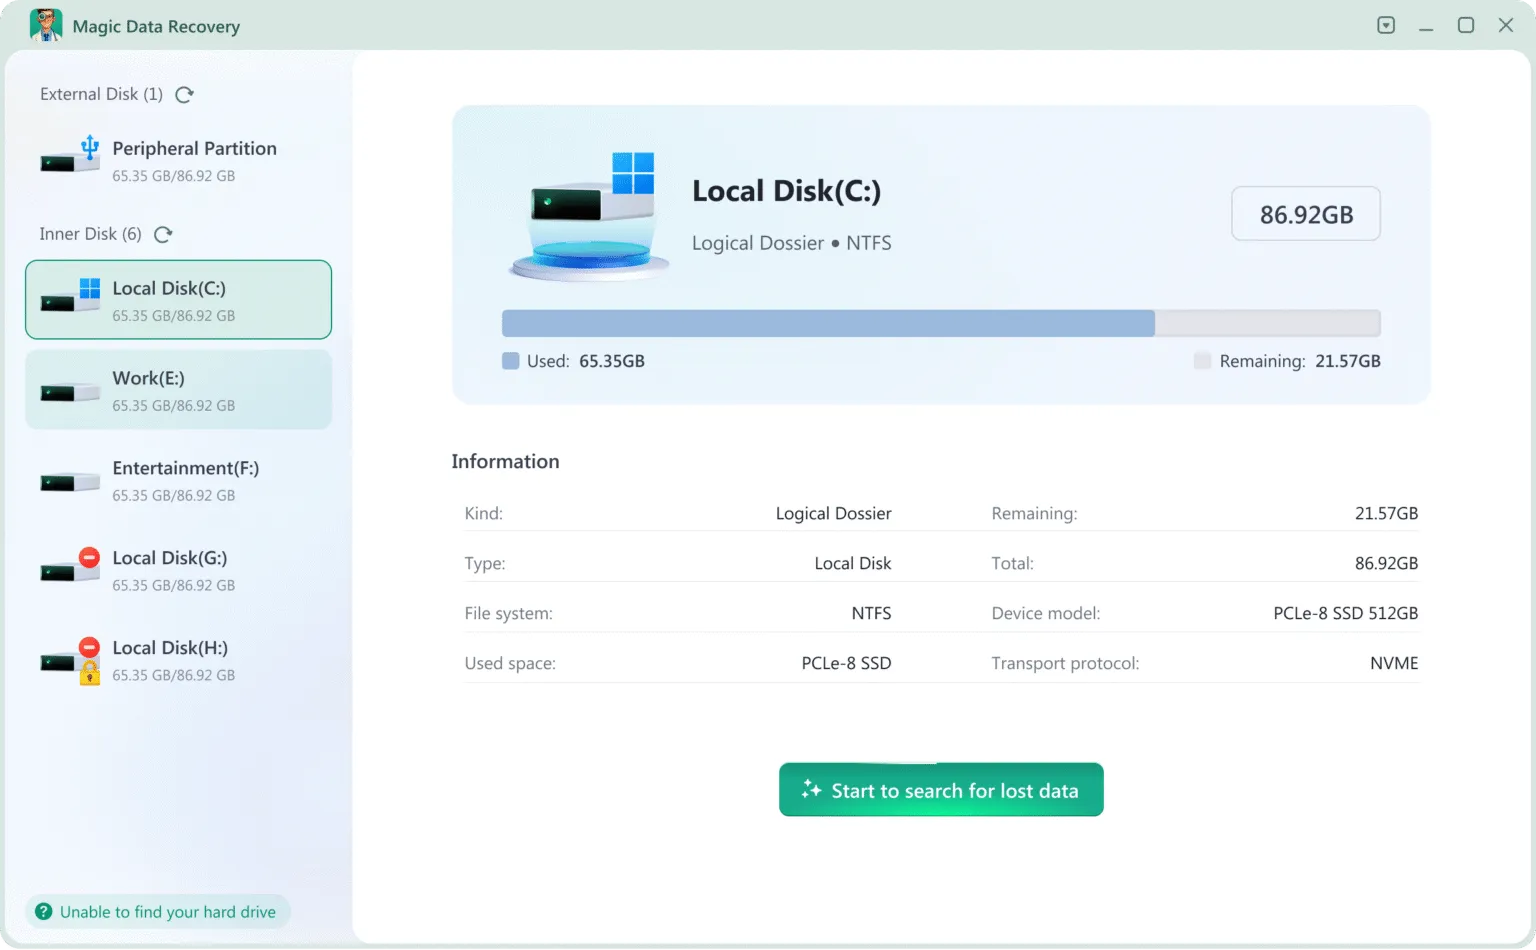
If the SSD is still detected by Windows, Magic Data Recovery can scan the drive for recoverable files. Install the software on a different healthy drive whenever possible, and never save recovered files back to the affected SSD.
For a detailed explanation of what can and cannot be recovered, see our SSD data recovery guide.
Supports Windows 7/8/10/11 and Windows Server
Conclusion
The TRIM command is an important part of modern SSD management. It allows the operating system to notify an SSD about unused blocks, helping the drive manage free space and maintain efficient write performance.
On Windows 11 and Windows 10, TRIM is normally handled automatically. You can check its status with fsutil behavior query DisableDeleteNotify, enable or disable delete notifications with fsutil, and manually retrim an SSD through Optimize Drives or PowerShell when necessary.
Keep in mind that TRIM can also make deleted-file recovery more difficult. If important data is lost from an SSD, stop using the affected drive and avoid writing new data to it. If the data is still recoverable, Magic Data Recovery can scan the SSD and help restore accessible files to another storage device.
FAQs
What is the trim command on an SSD?
How do I check if the trim feature is enabled in Windows?
How do I enable the trim on my SSD?
Does the trim command permanently erase deleted files?
Can Magic Data Recovery recover files from a TRIM-enabled SSD?
What is the Linux equivalent of the trim command?
Should I disable the trim command for better recovery?
Does Windows 11 automatically run TRIM?
What command manually trims an SSD in Windows?

Jason has over 15 years of hands-on experience in the computer data security industry. He specializes in data recovery, backup and restoration, and file repair technologies, and has helped millions of users worldwide resolve complex data loss and security issues.